Simon shares insights on creating his game
Our intern Simon developed an interactive game for the Weekend of Science, featuring unique transparent consoles and separate cards. In this blog, he shares more about it.
De game tijdens Weekend van de Wetenschap
Imagine my first day as an intern at YIPP. I am eager to know what I will be doing during my internship. The initial idea was for my first project to be a quiz about YIPP, I could get to know YIPP a little better, and get accustomed to most of the systems YIPP works with. Instead, I was told an event would come soon, and I could replace the project with something for the Weekend of Science. It would ultimately be a bigger project, with a tighter deadline, but we like a challenge.
I had 28 days to make it.
Every great project starts with a great concepts
After debating some possibilities and concepts, I settled for a concept that would show how a game works. The theme for the Weekend of Science was: ‘How does it work?’ Transparently showing how the game works would tie in nicely. Kids nowadays often play a bunch of videogames and know what they are doing in the game, but do they know how the game is made? With the development of unique transparent consoles, and separate cards for each possible input, they could get a little insight on the inner workings of the game.
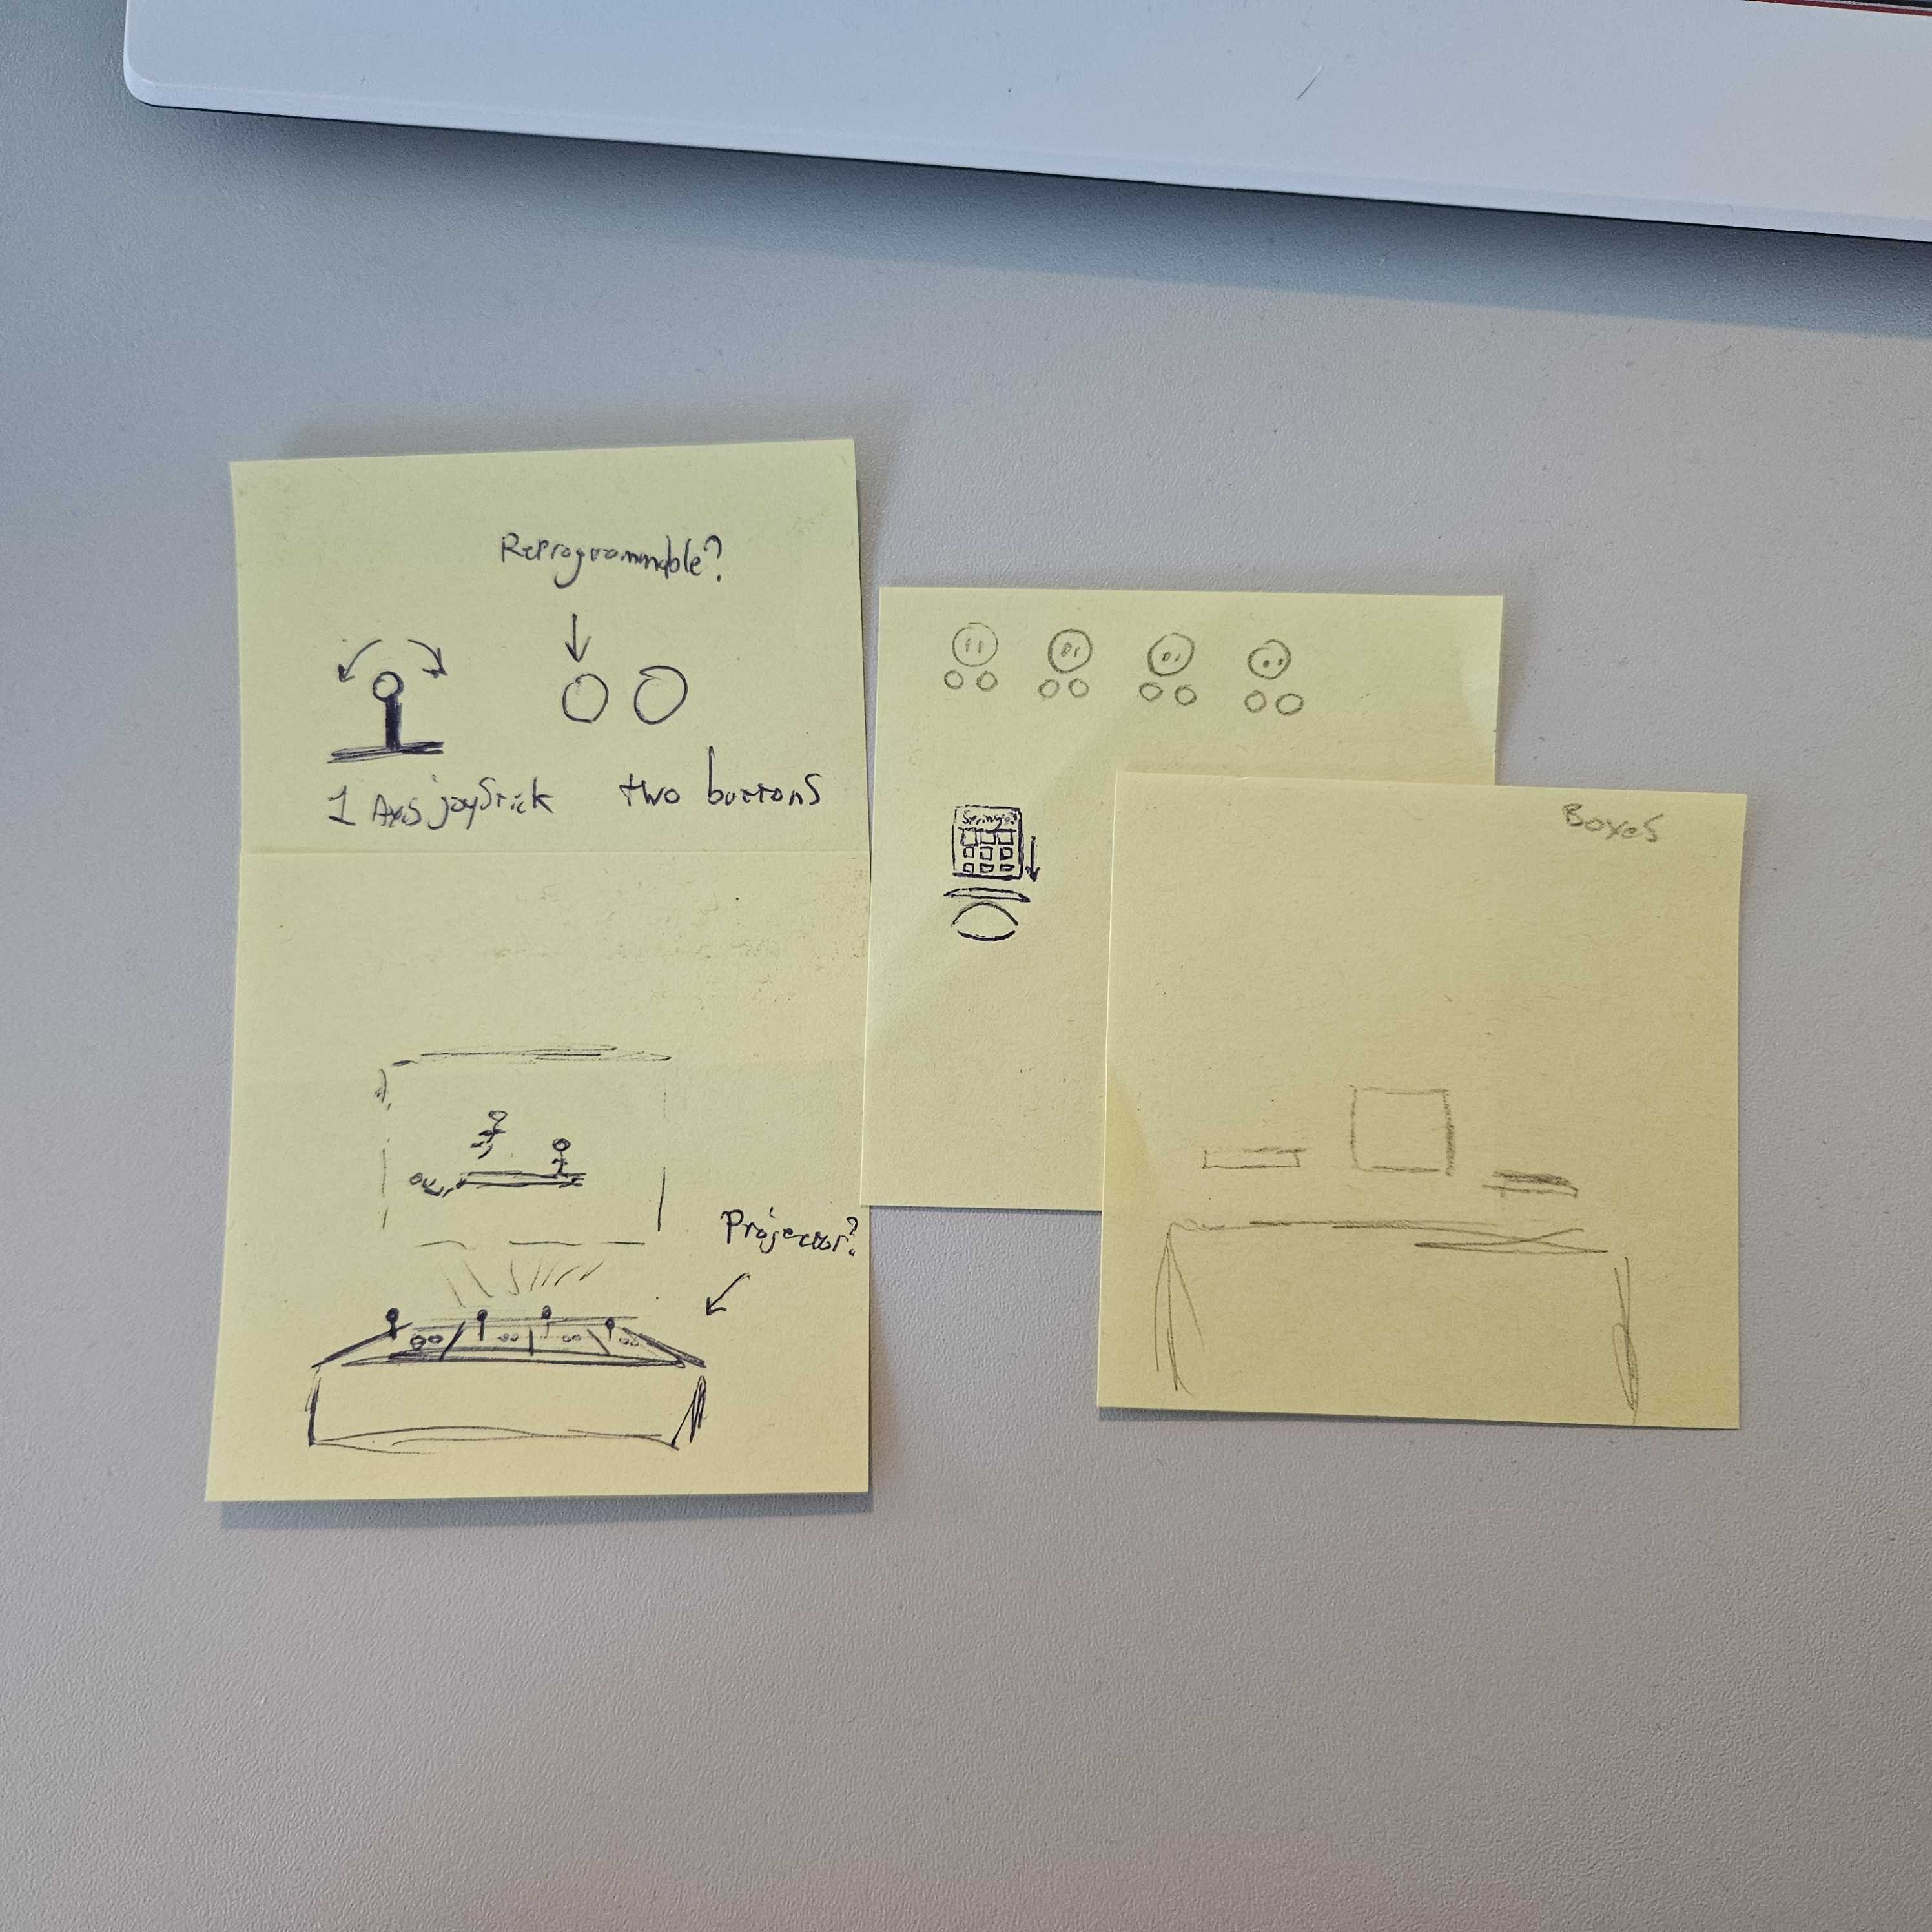
Concept sketches
Since visitors of the Weekend of Science are often families, I decided on a multiplayer game where four players are pitted against each other, and use cards to switch the functions of their buttons. This way, they could decide whether they’d want to be able to jump, push, dash, pick up, throw, etc. They only have two buttons to assign functions to, so they have to choose carefully (or switch them quickly).
Creating the game
I designed the movement and gameplay in such a way that all actions look funny and ridiculous.
After some experiments, I had made movement I was happy with, it looked nice and everyone thought it was really funny to look at, which was the intended result. Players can push each other off the stage, and there are multiple actions players can choose from.
After completing the basis of the gameplay, it was time to start with the physical part of the exhibit.
Physical Components
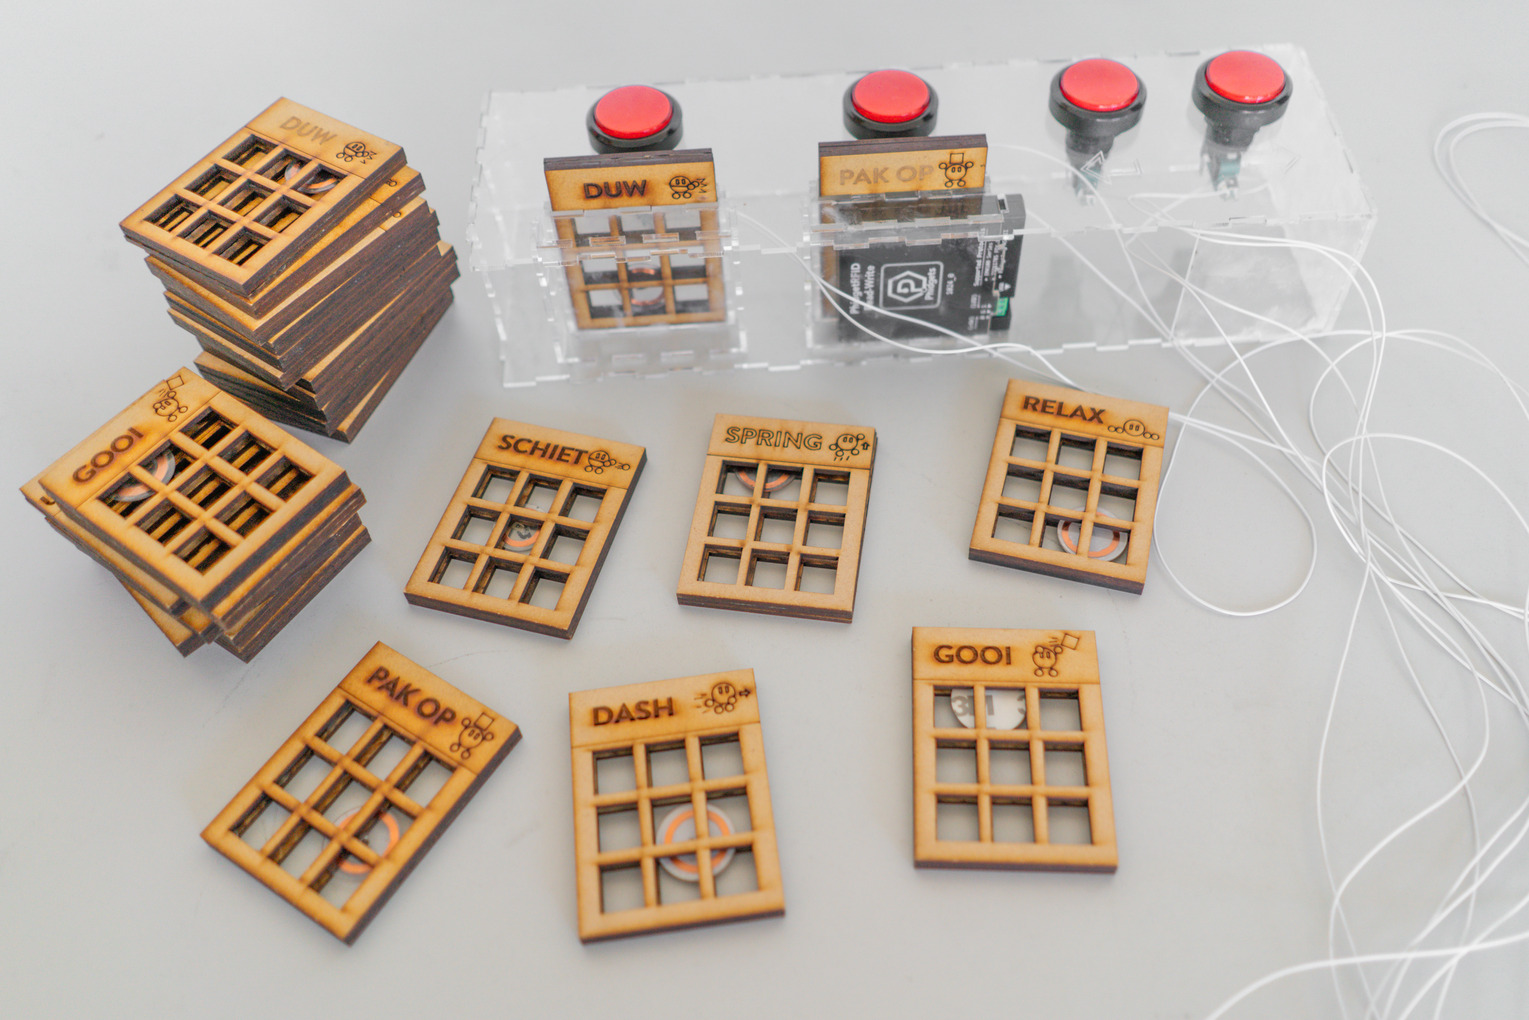
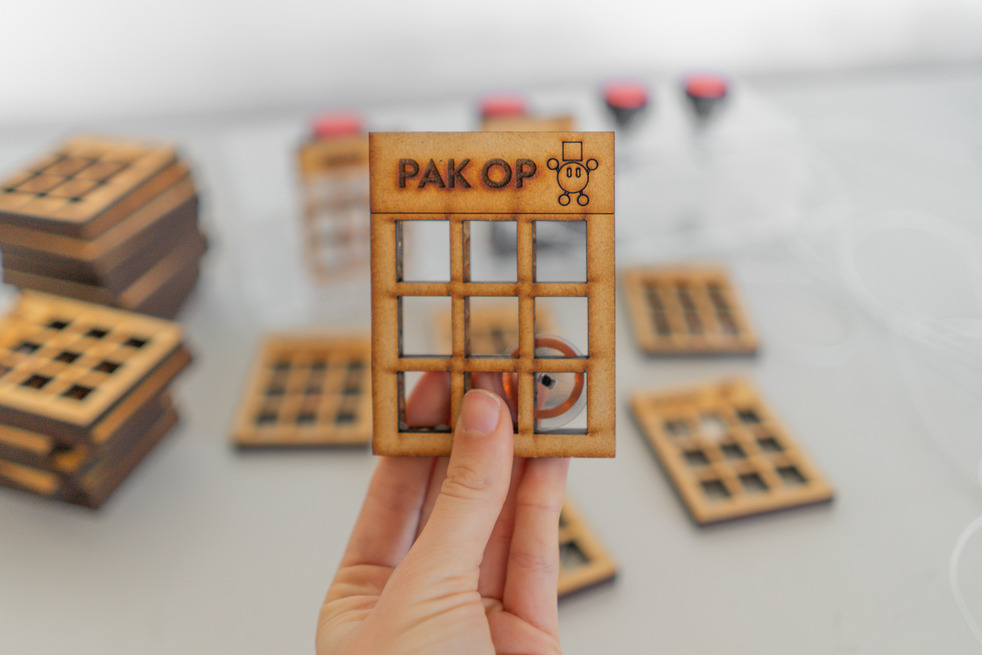
I started with a test for the cards. I used a laser cutter to cut different sizes of cards, and different sizes of slots, and tested them with a couple of fellow students to come to the most satisfying card and slot combo.
Cutting the cards with a laser cutter
The final design would be made of transparent acrylic, also cut with a laser cutter. This is to let players see what is going on behind the scenes. They can see the sensors and wires. The cards themselves are also designed so you are able to see the chip that is scanned when you put the card in a slot. The chip itself is, you guessed it, also transparent.
Weekend van de Wetenschap
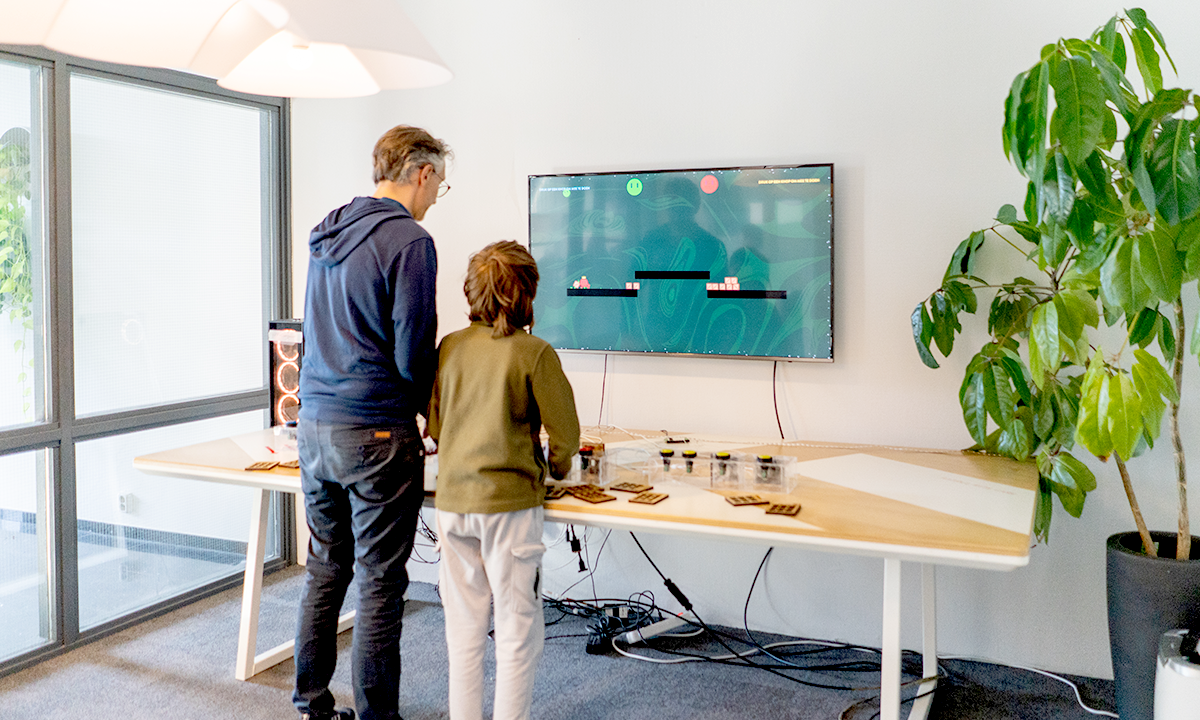
Building the exhibit would go right up until the day of the deadline, but everything worked out perfectly. The families loved it, and it was a favorite amongst the kids.
Players enjoying the game at the Weekend of Science