Evolutie van een exhibit - het YIPP proces
~ by Anna Heimbrock
(Blog alleen in het engels)
We want to share a glimpse behind the scenes with this post.
DISCLAIMER every project and exhibit we make is unique. We do not strictly follow the exact same process for every exhibit. Overall, the process is quite similar though, which is why we hope this blog post gives you a good impression of how we work.
So how did we arrive at this finished exhibit? Follow me...
finished!
It starts with a client brief
We started out by studying the client brief closely. What are the desired learning outcomes the exhibit should facilitate? The tone of voice and atmosphere of the overall exhibition? We looked at inspiration in the form of images and videos the client had provided us with. We learned of specific technical requirements - in this case a possible collaborator for a robotic arm had already been contacted, as well as guidelines regarding accessibility.
reading a client brief
Concept development
Now that we have enough information to start with, we begin with a first concept development. What will be fun? What is a game that can be played in a short time in a museum? What will fit with the age of the target audience?
We made some very first sketches :)
first sketch
R&D and hardware test
This exhibit we R&Ded straight away in order to assess if the technical side of the exhibit was achievable with the hardware the client had chosen. Within a few days a brand new robotic arm arrived from the UK for us to test with. Together with the bits and pieces we have in our R&D space, we quickly build an impromptu test set up.
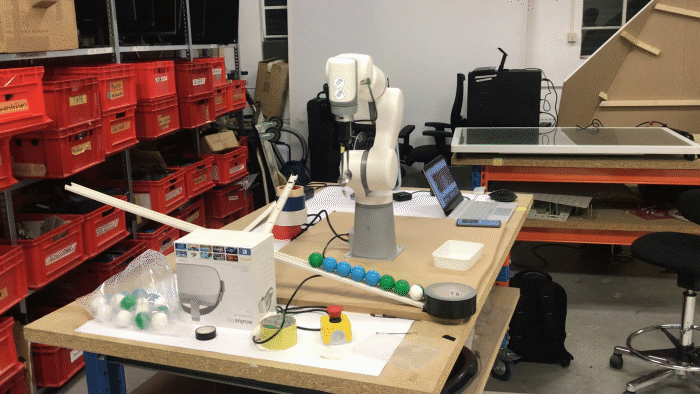
R&D with the robotic arm
Present & Test concept
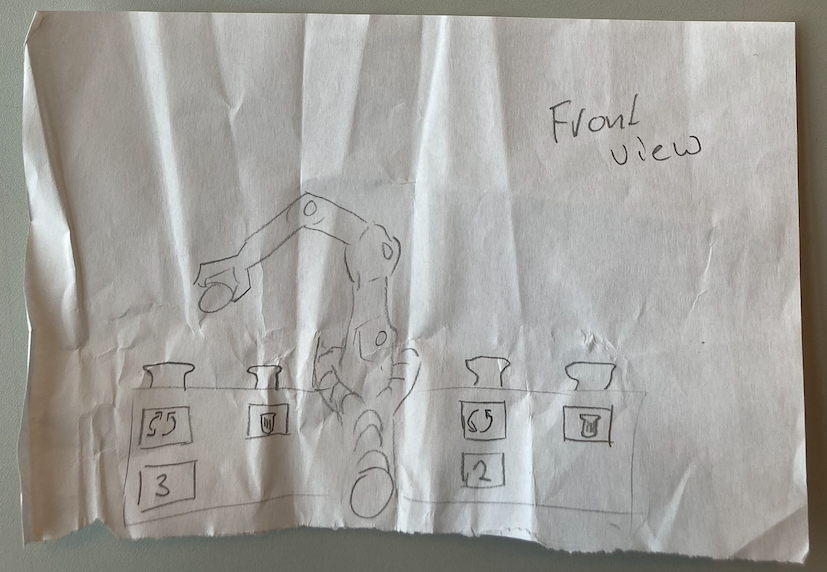
For this particular exhibit, the concept development culminated in a first paper prototype which was tested with children at the museum.

paper protoype
Feedback moment
After presenting/ testing we pick a moment to sit together (physically or digitally) with the client and discuss all feedback together. This is our own feedback we've noted down on the current version, the client feedback, the exhibition designer's input and any feedback user testers gave. What is truly useful are the variety of voices that give feedback, from the museum's educational staff to designers, as well as the maintenance team. Thus, many different aspects of the exhibit are being considered. Together, we decide on changes and improvements.
Get more input
Usually at this stage, we receive some new external input. For this exhibit we had a phone call with a robotics programmer, who was advising the museum on the project. On the call, she gave us more insight into what sort of tasks the robots at her company would perform. In addition, we got some more worked out drawings of the furniture that the exhibit would be a part of and heard back what hardware would be purchased.
furniture drawing
Develop & Design further
Armed with the feedback points and new external information, we got back behind our computers, opened Unity and Illustrator and continued our work.
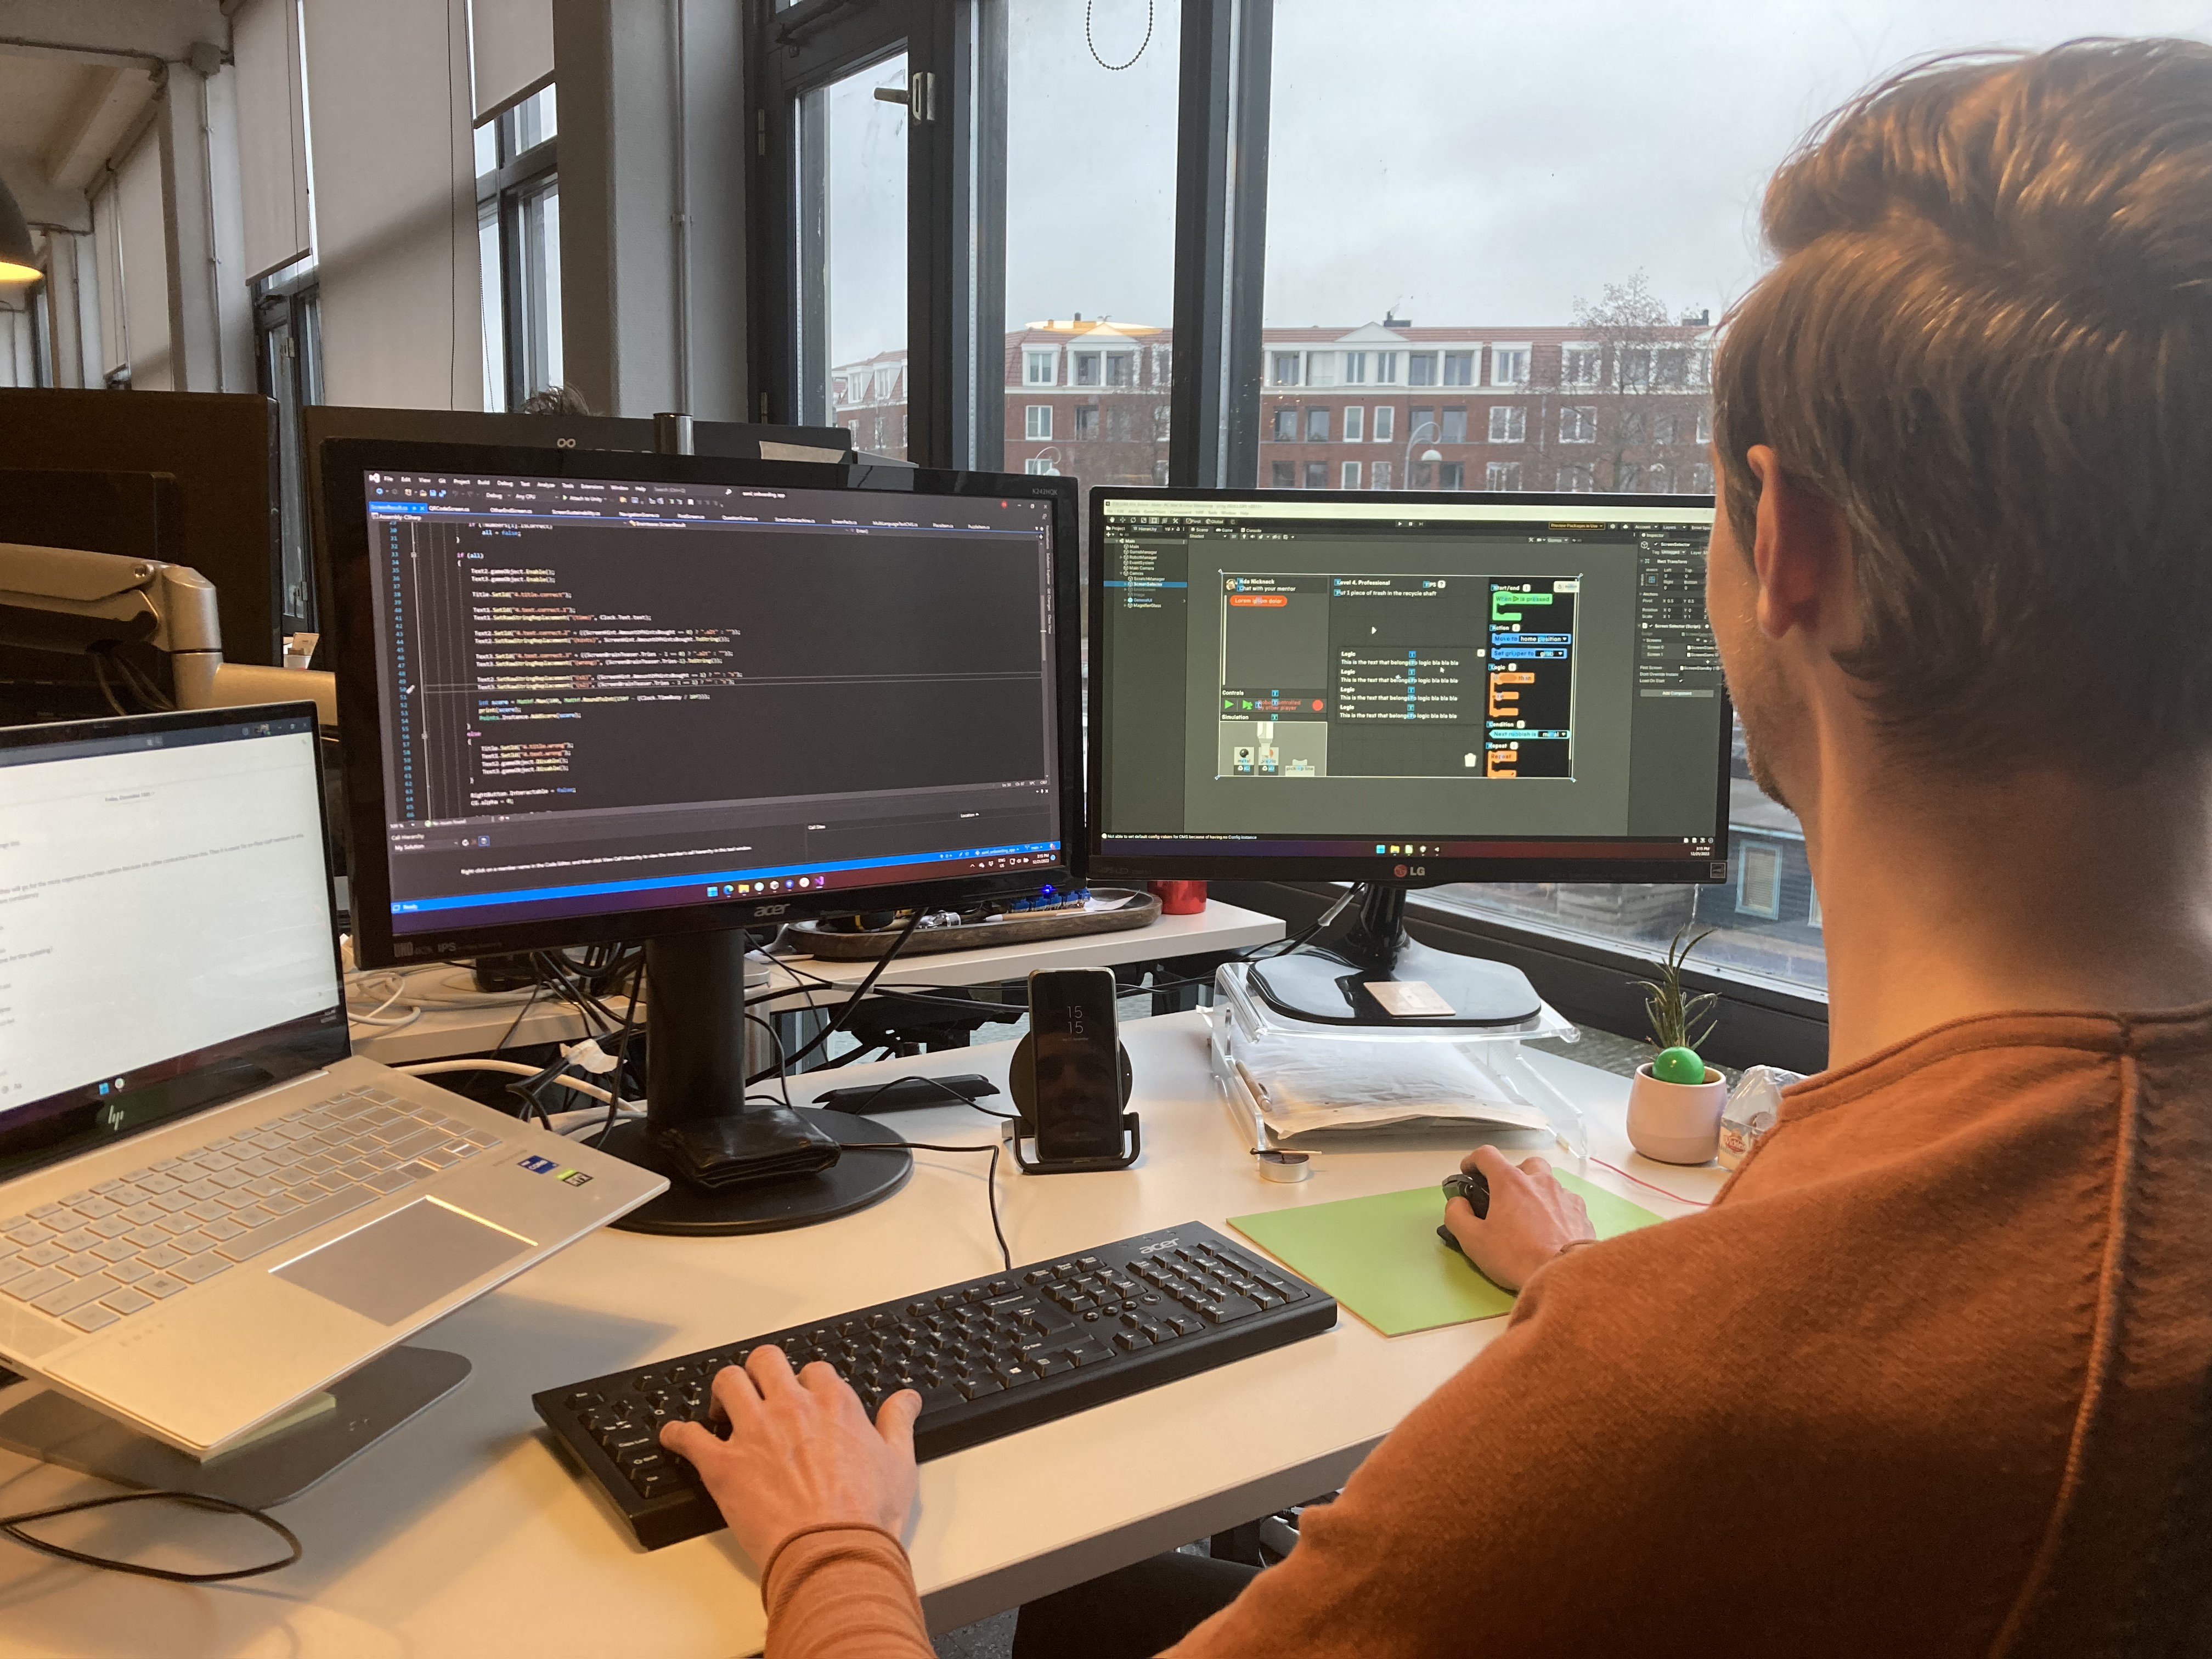
Emiel busy programming
Present & Test digital prototype
Voila - after a bit more time, we had a digital prototype ready. For now, we substituted the robotic arm with a simulated arm on a screen. This prototype was demoed with the client and again tested by children at the museum.
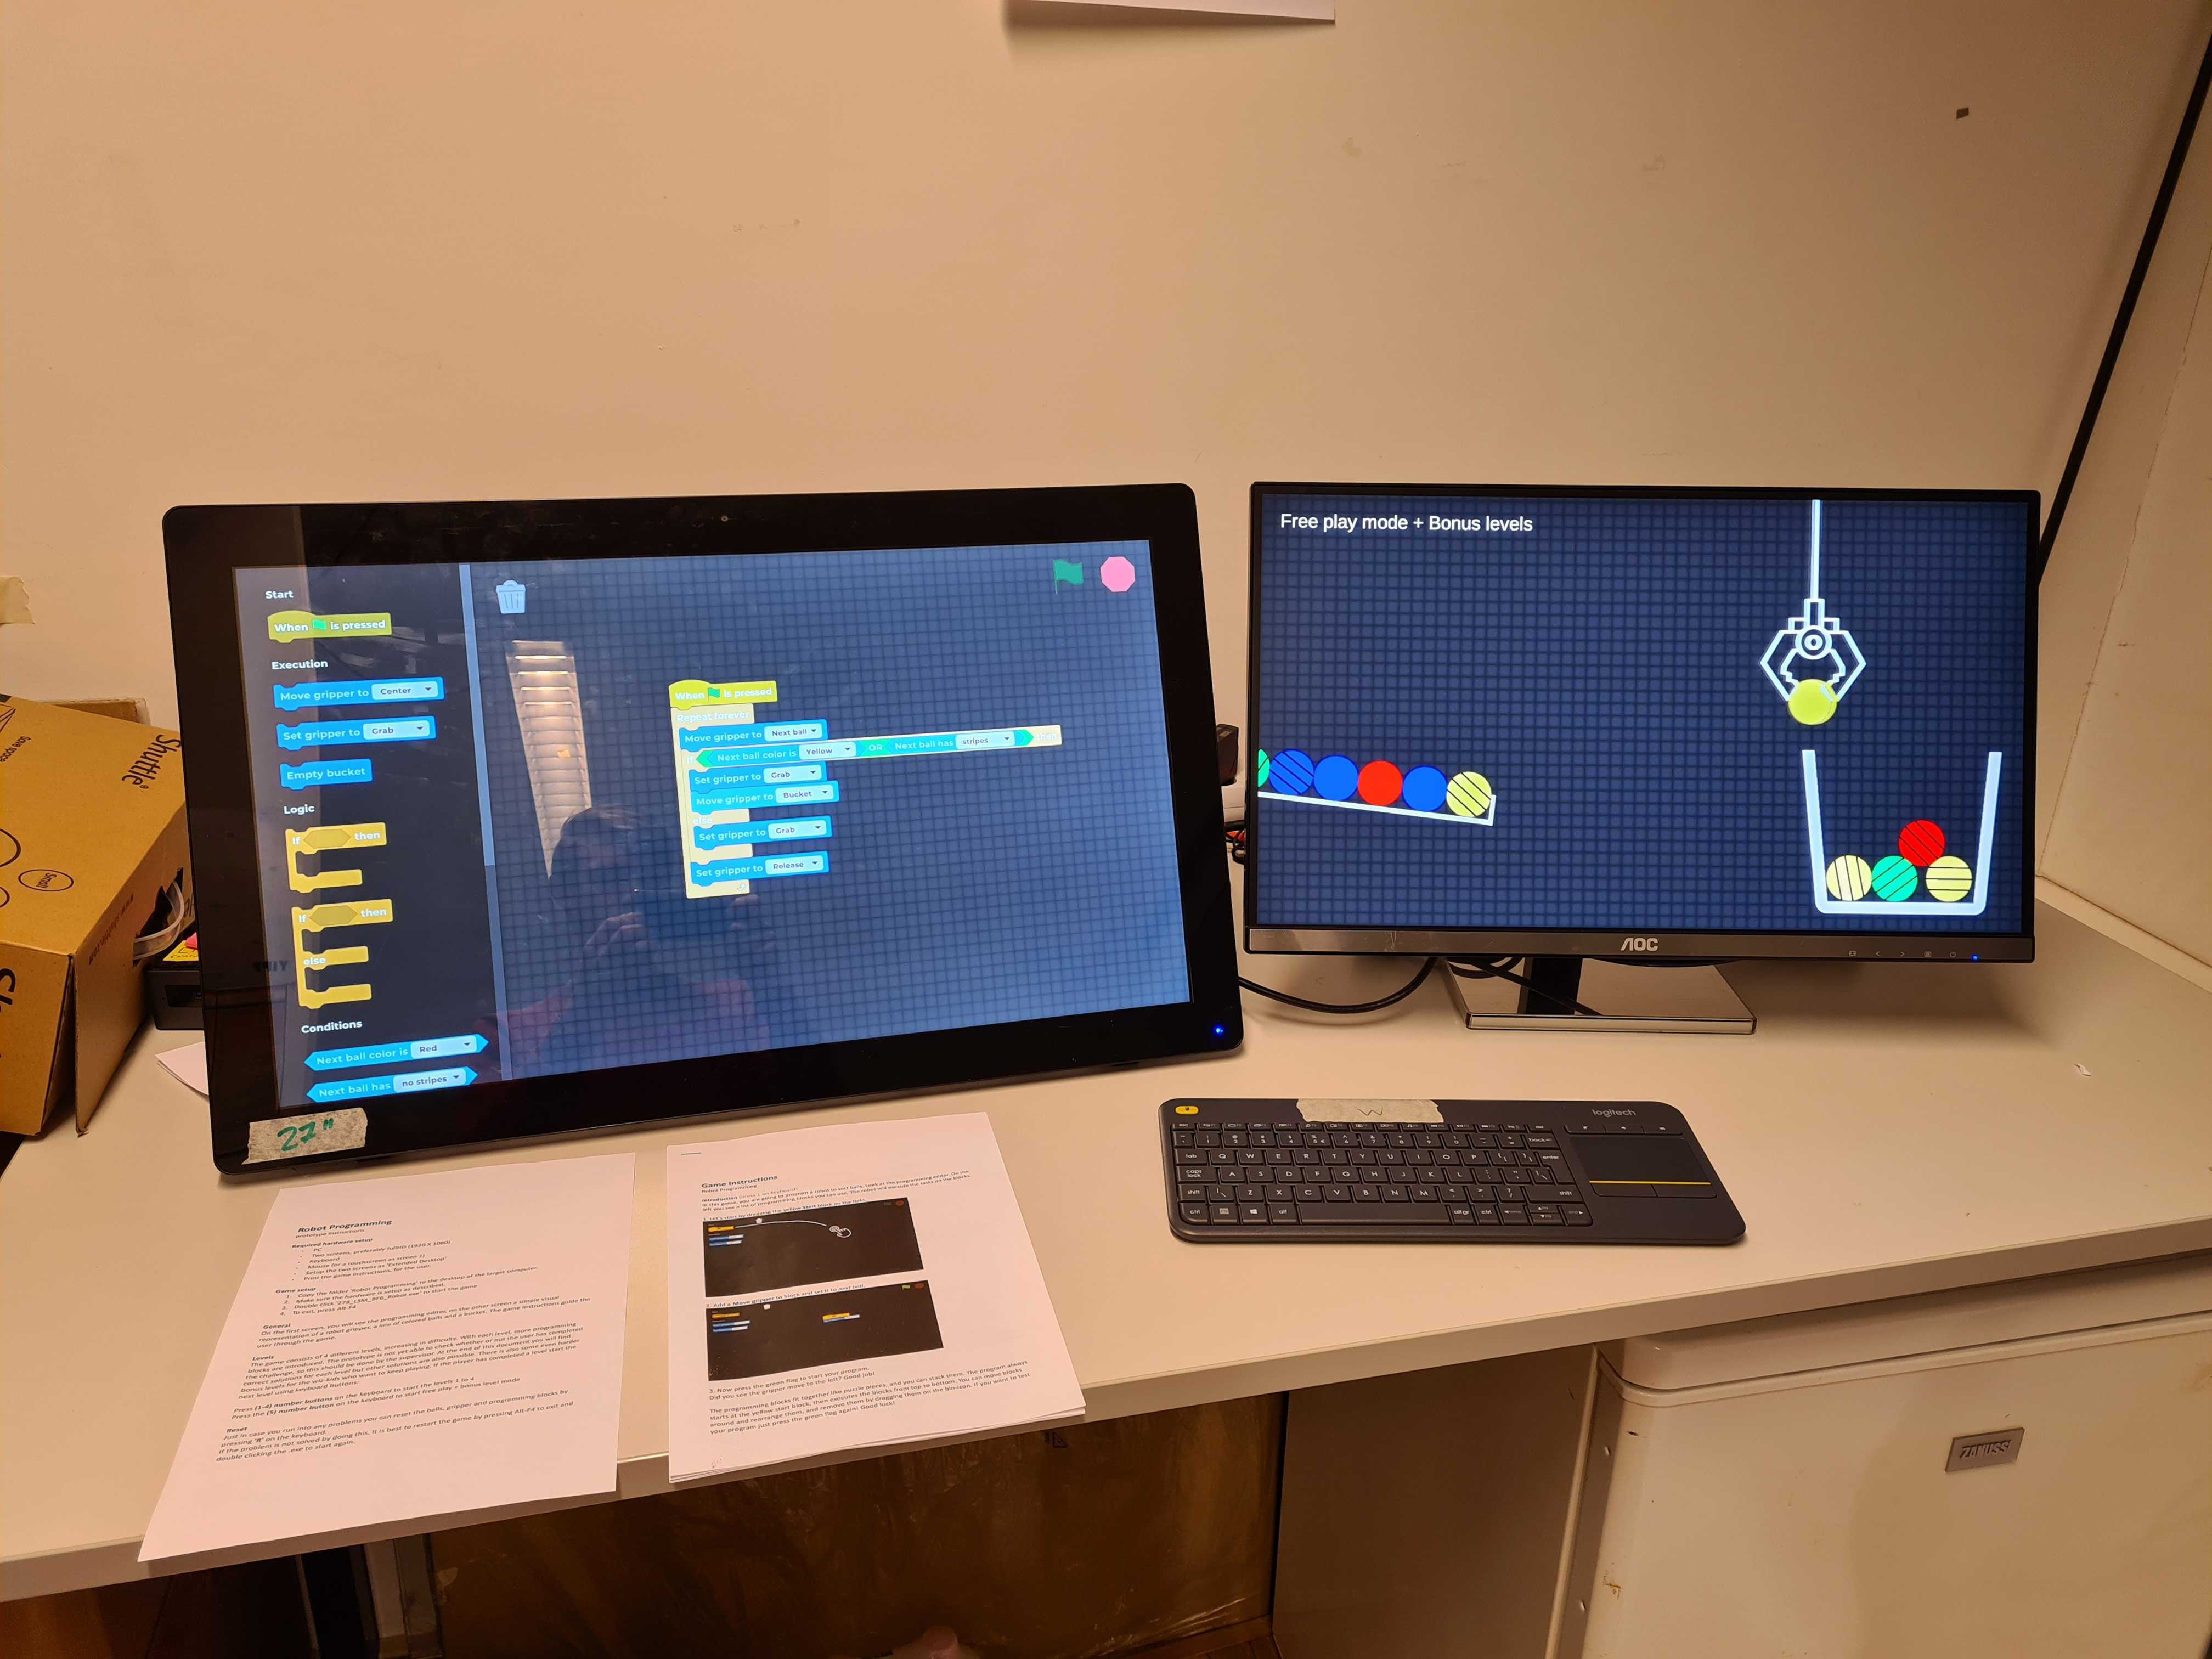
digital prototype
Feedback Moment - again
You may have guessed it, after presenting/ testing the digital prototype we sit down again and collect, discuss and finalise feedback with the client. For this exhibit, having a close exchange with the museum's maintenance expert was key at this stage. All the feedback that we decide on, we put in our homemade internal to-do tool "Boord".
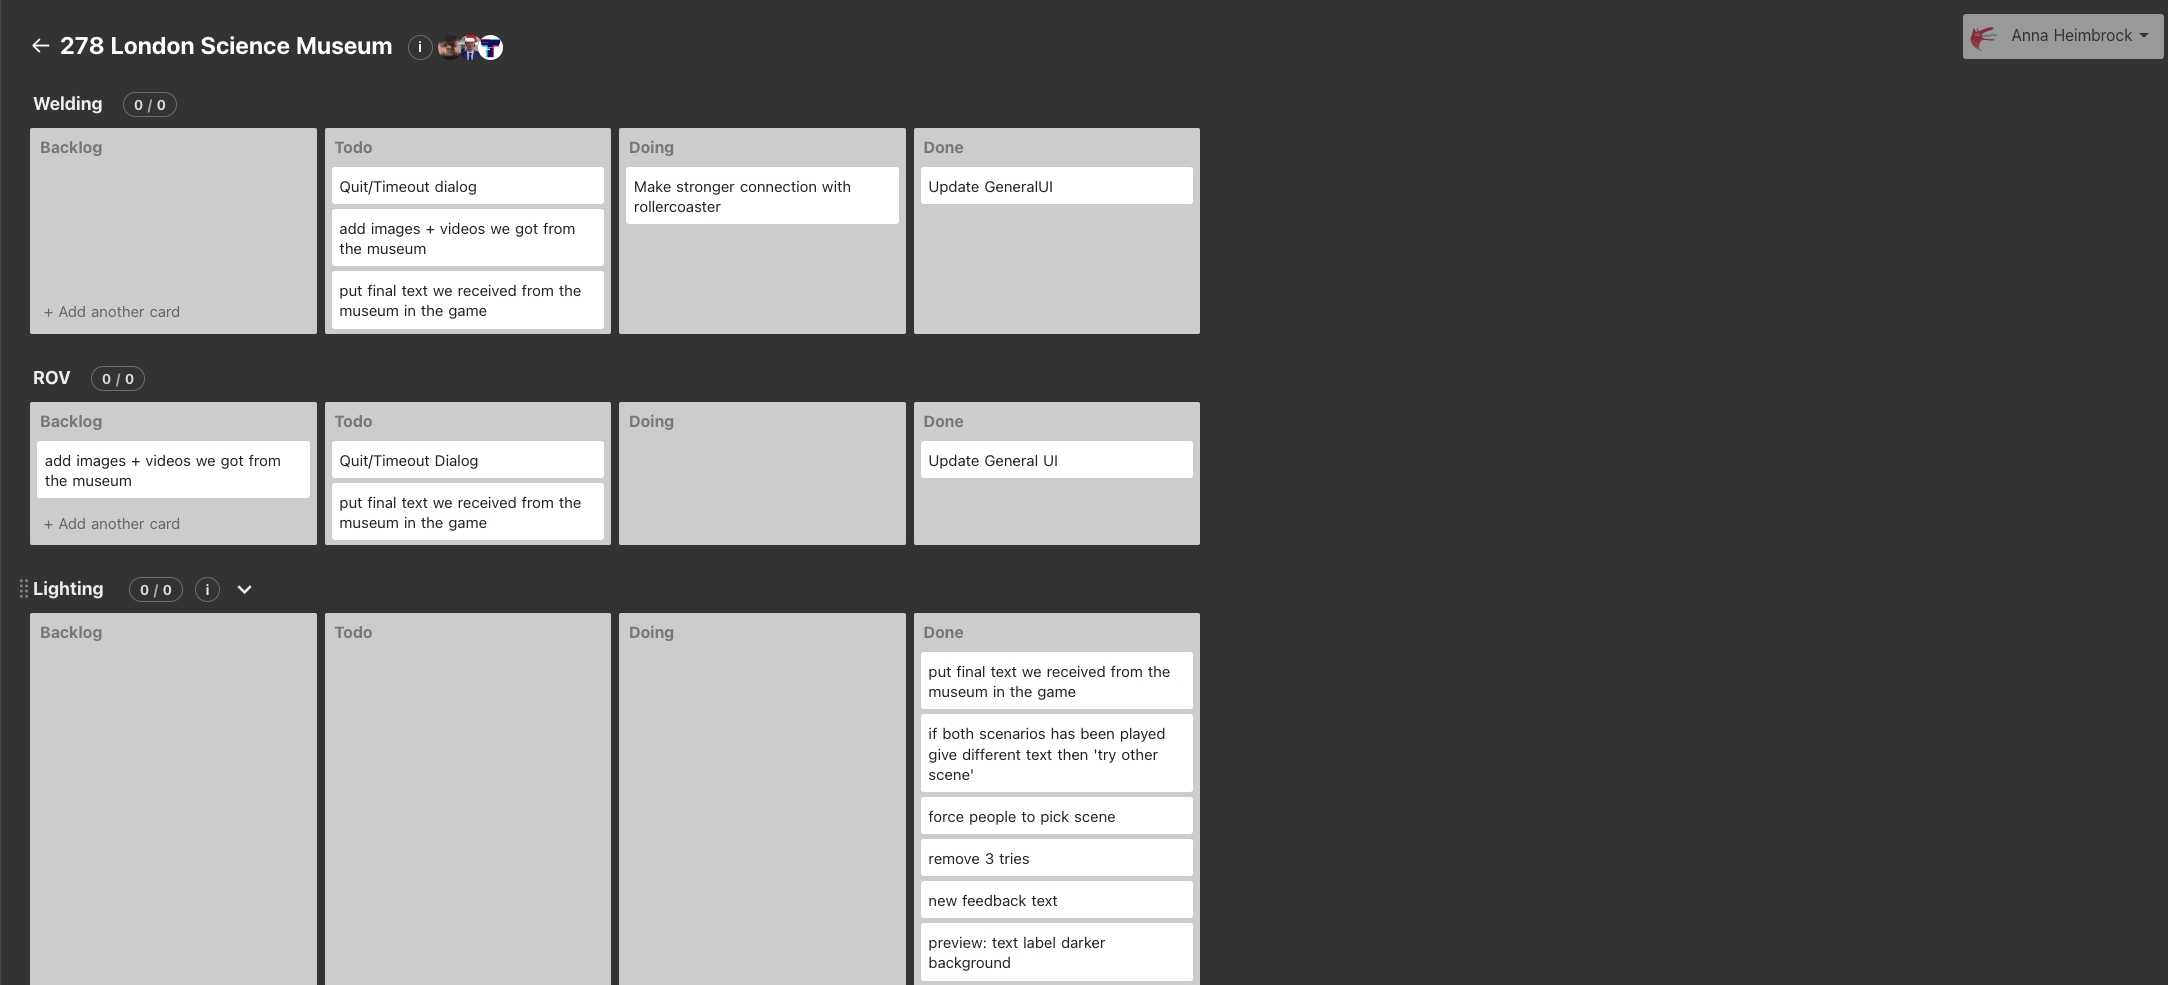
Boord
Get more input - again
Just in time, the prop maker sent us a new engineer drawing to check. This is the final puzzle piece to tie the physical aspect of the exhibit together nicely with the digital.
engineer drawing for props
Develop & Design even further
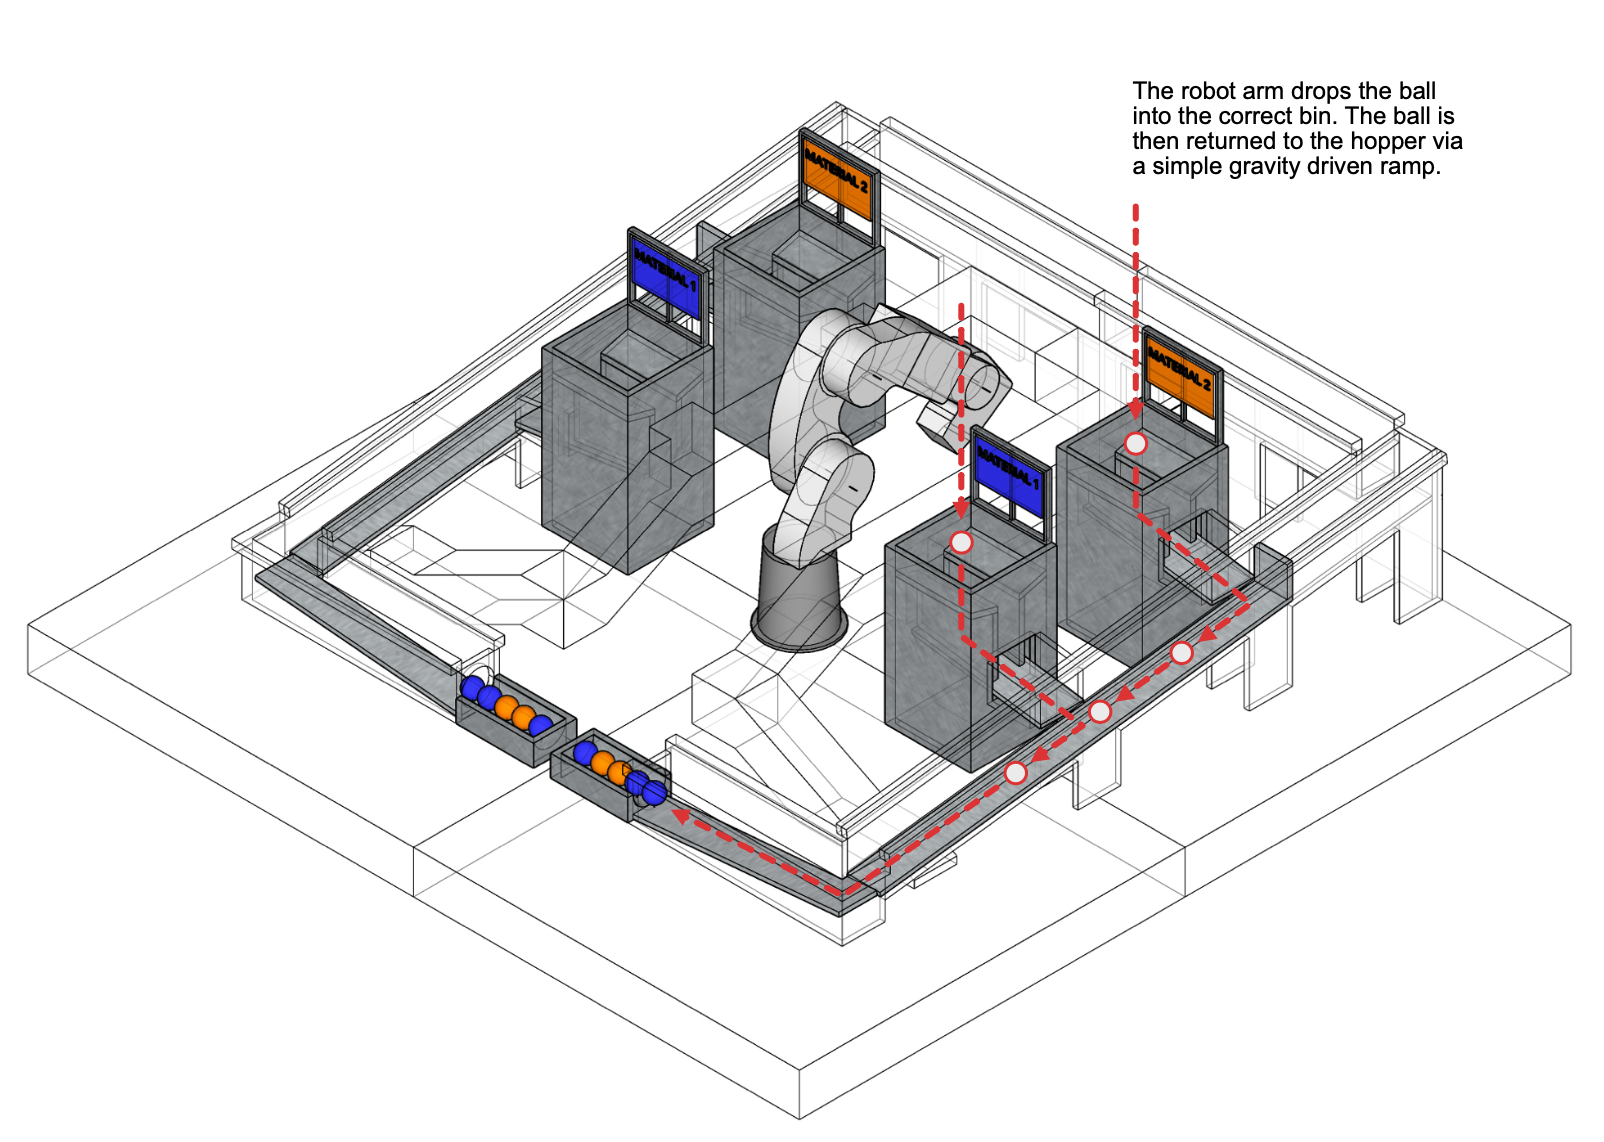
Again, we develop and test at the office with the robotic arm that we have in our R&D room and then develop some more. We are in close contact with the prop maker and exchange measurements to make sure no balls will get stuck.
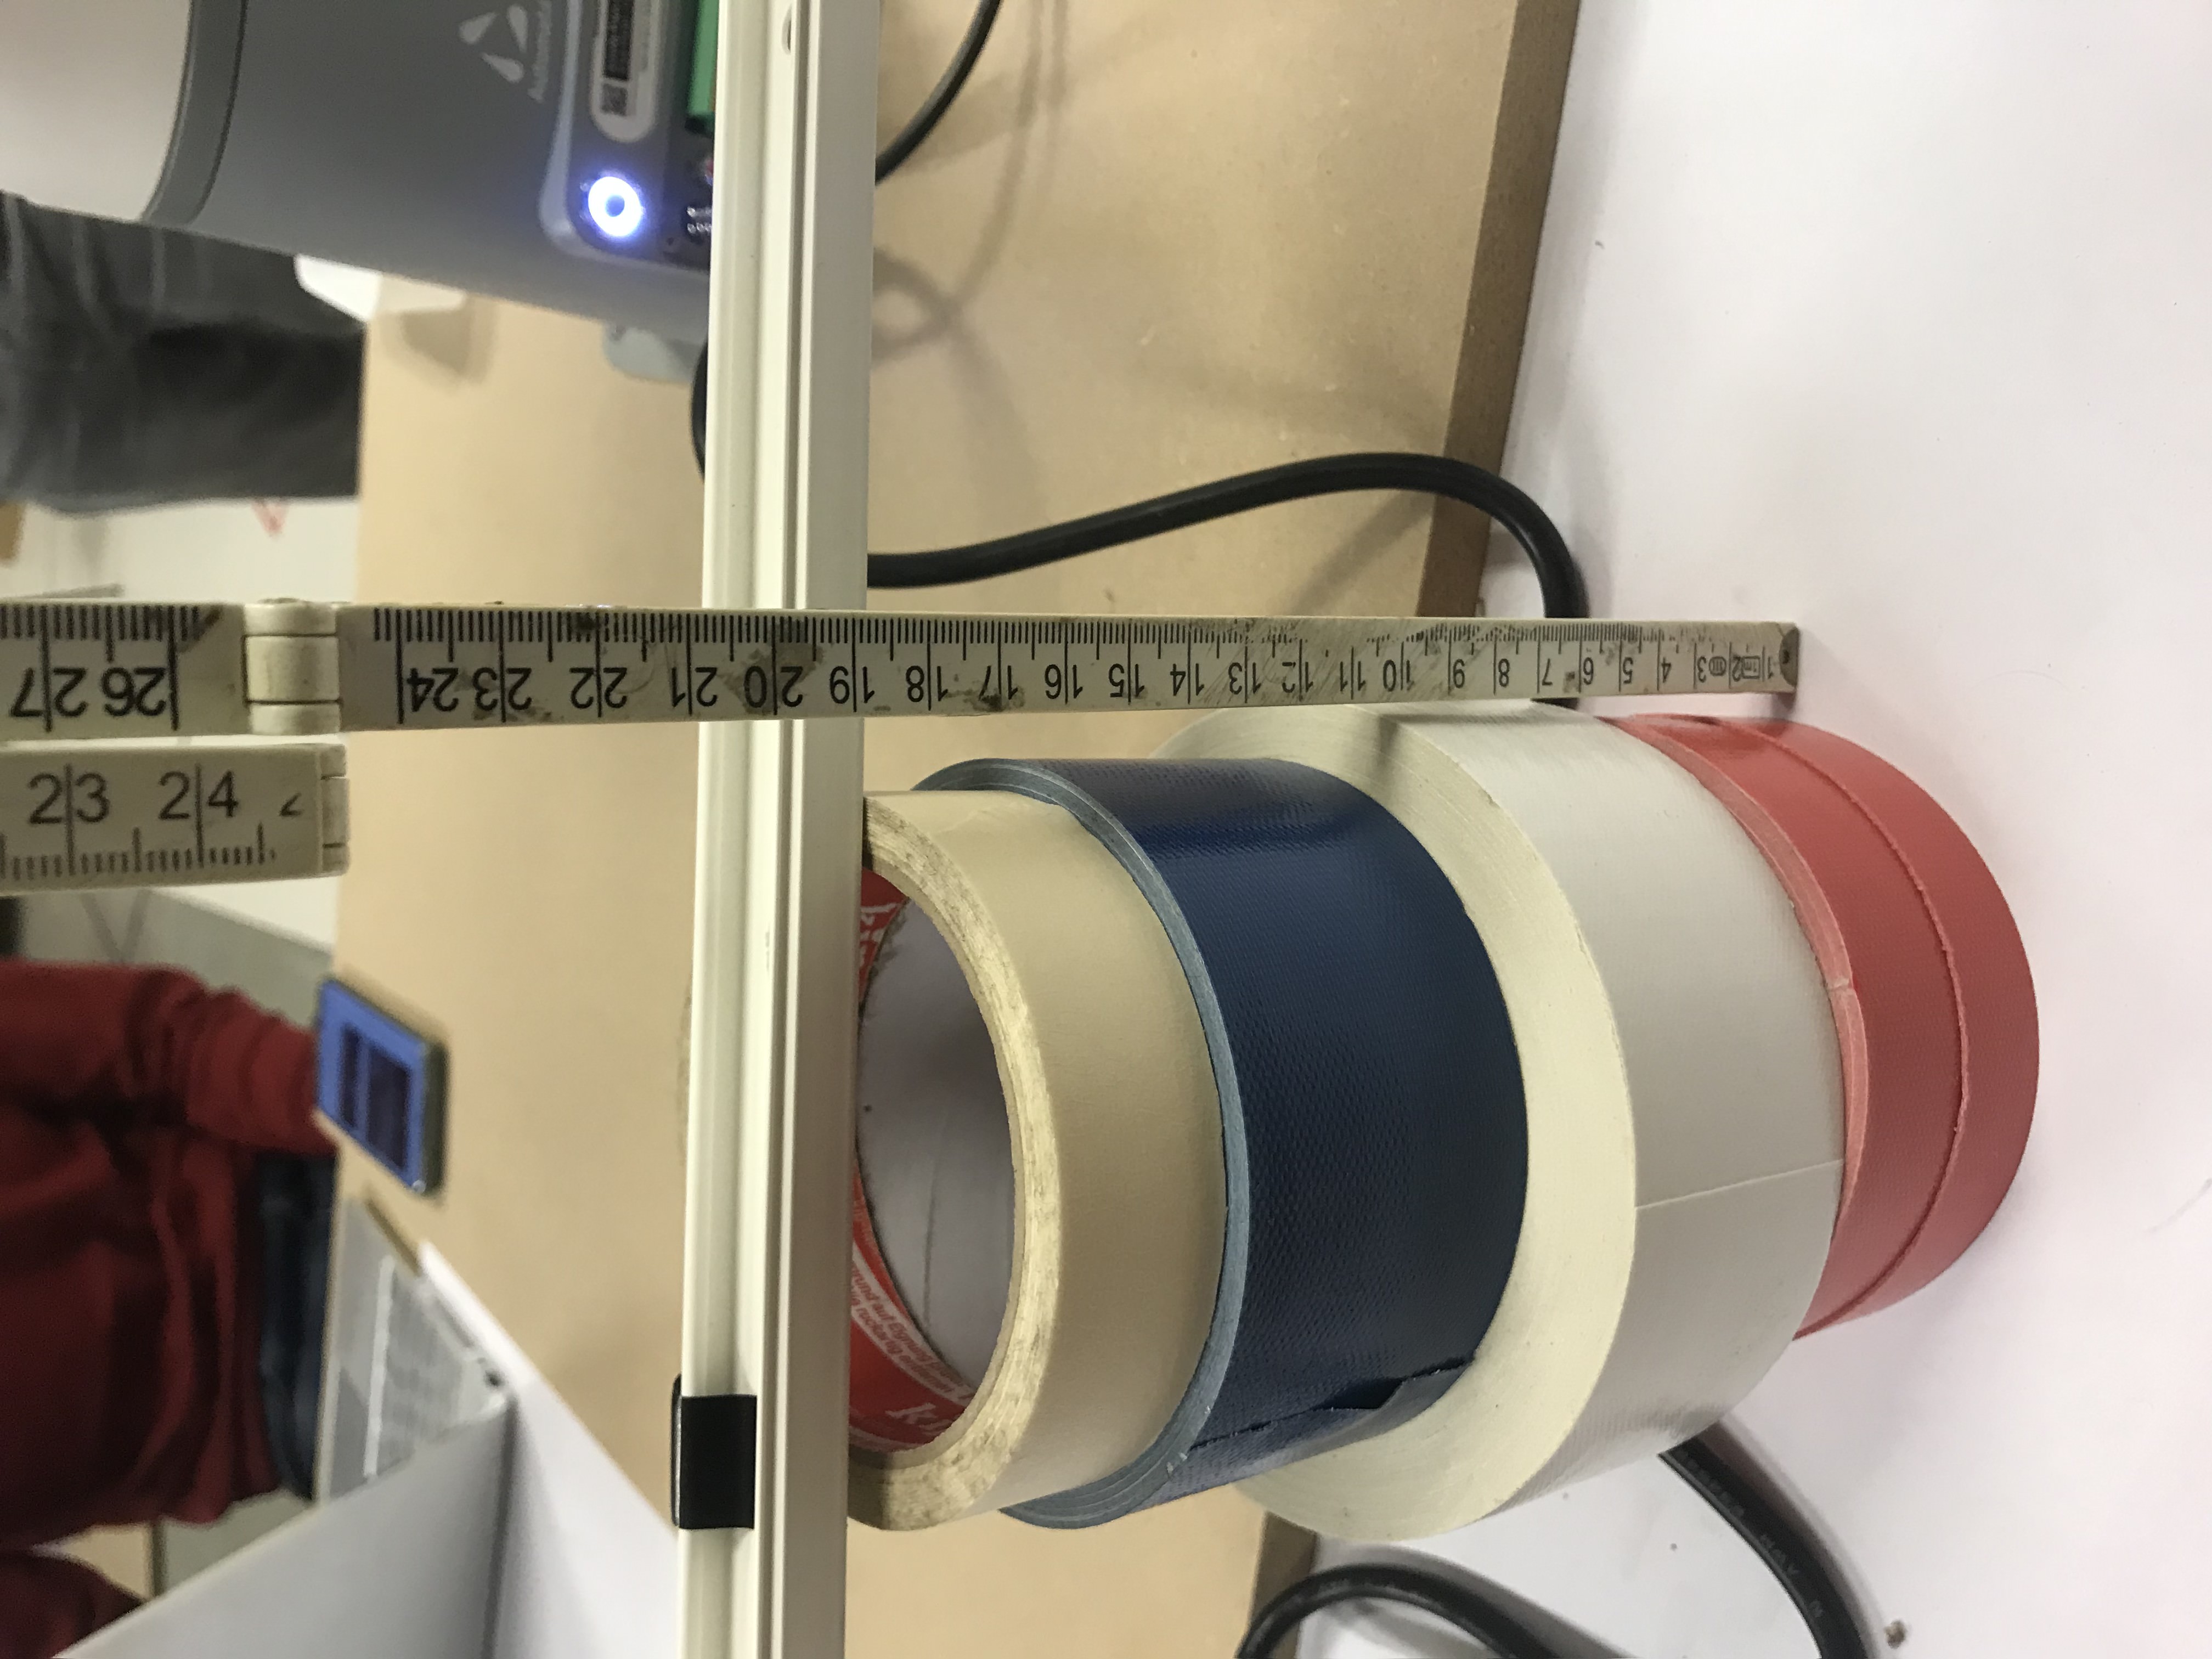
measuring the ball track
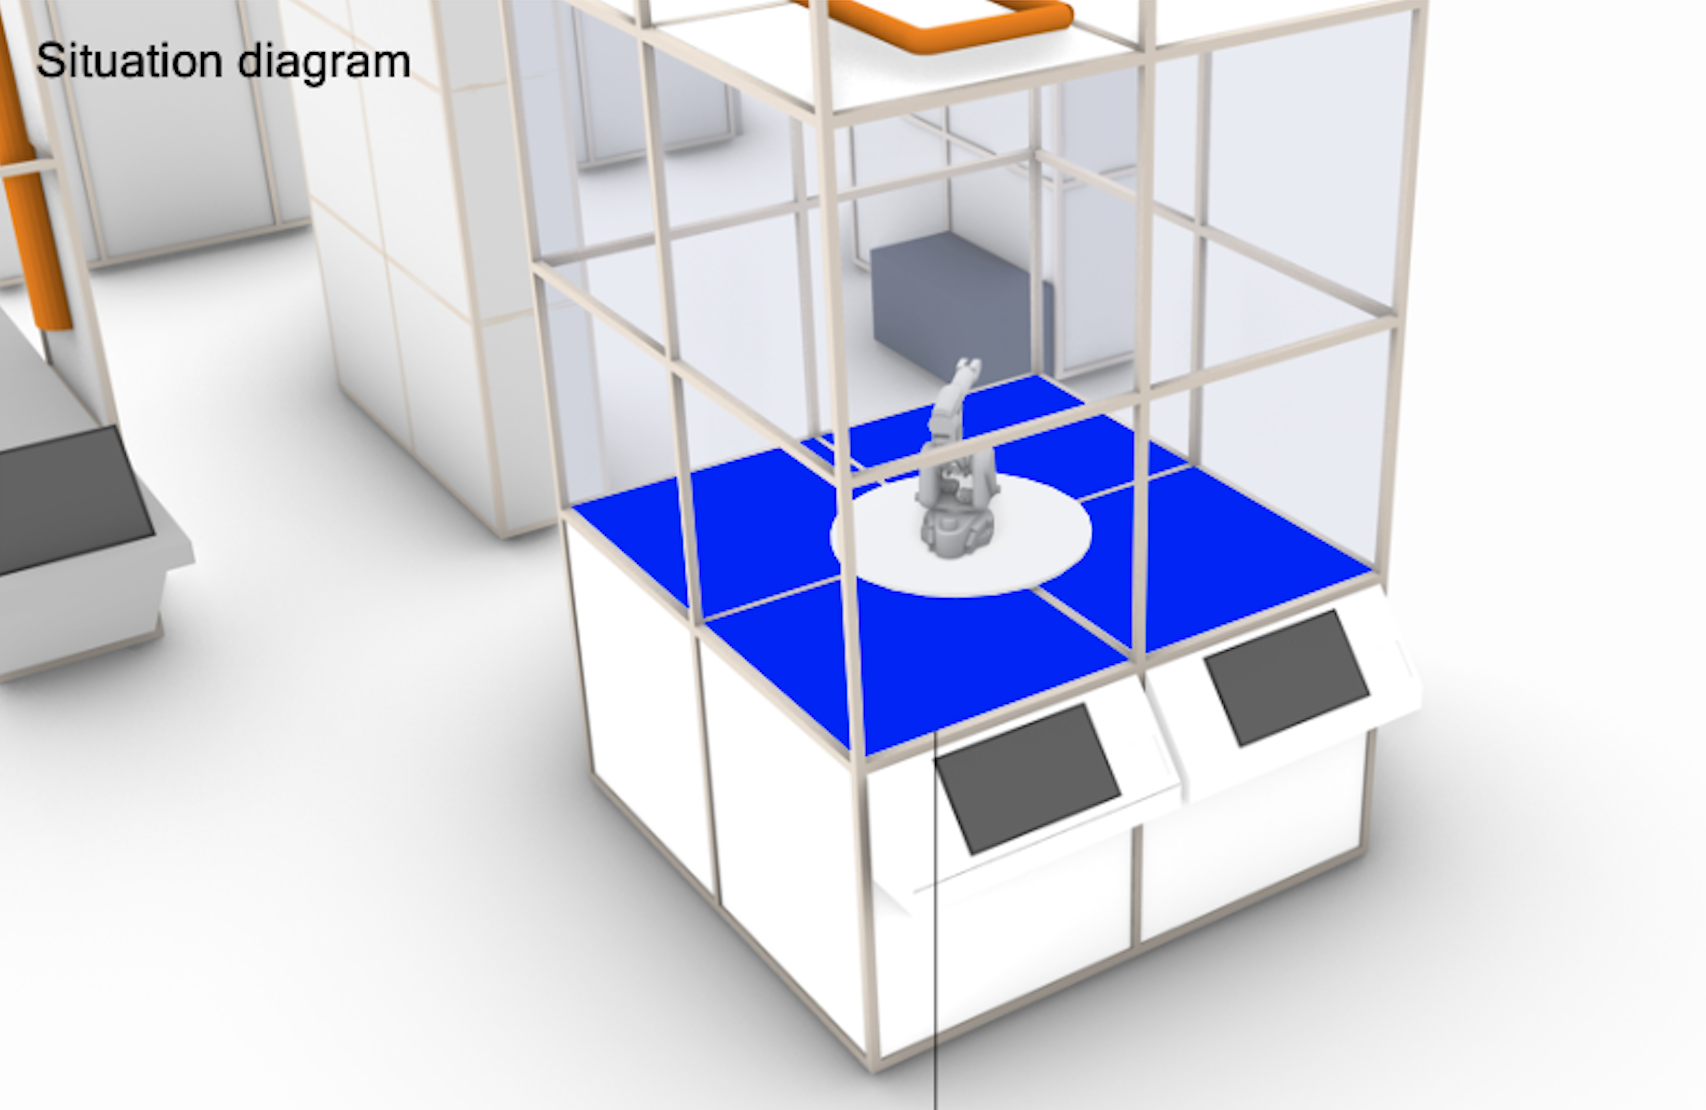
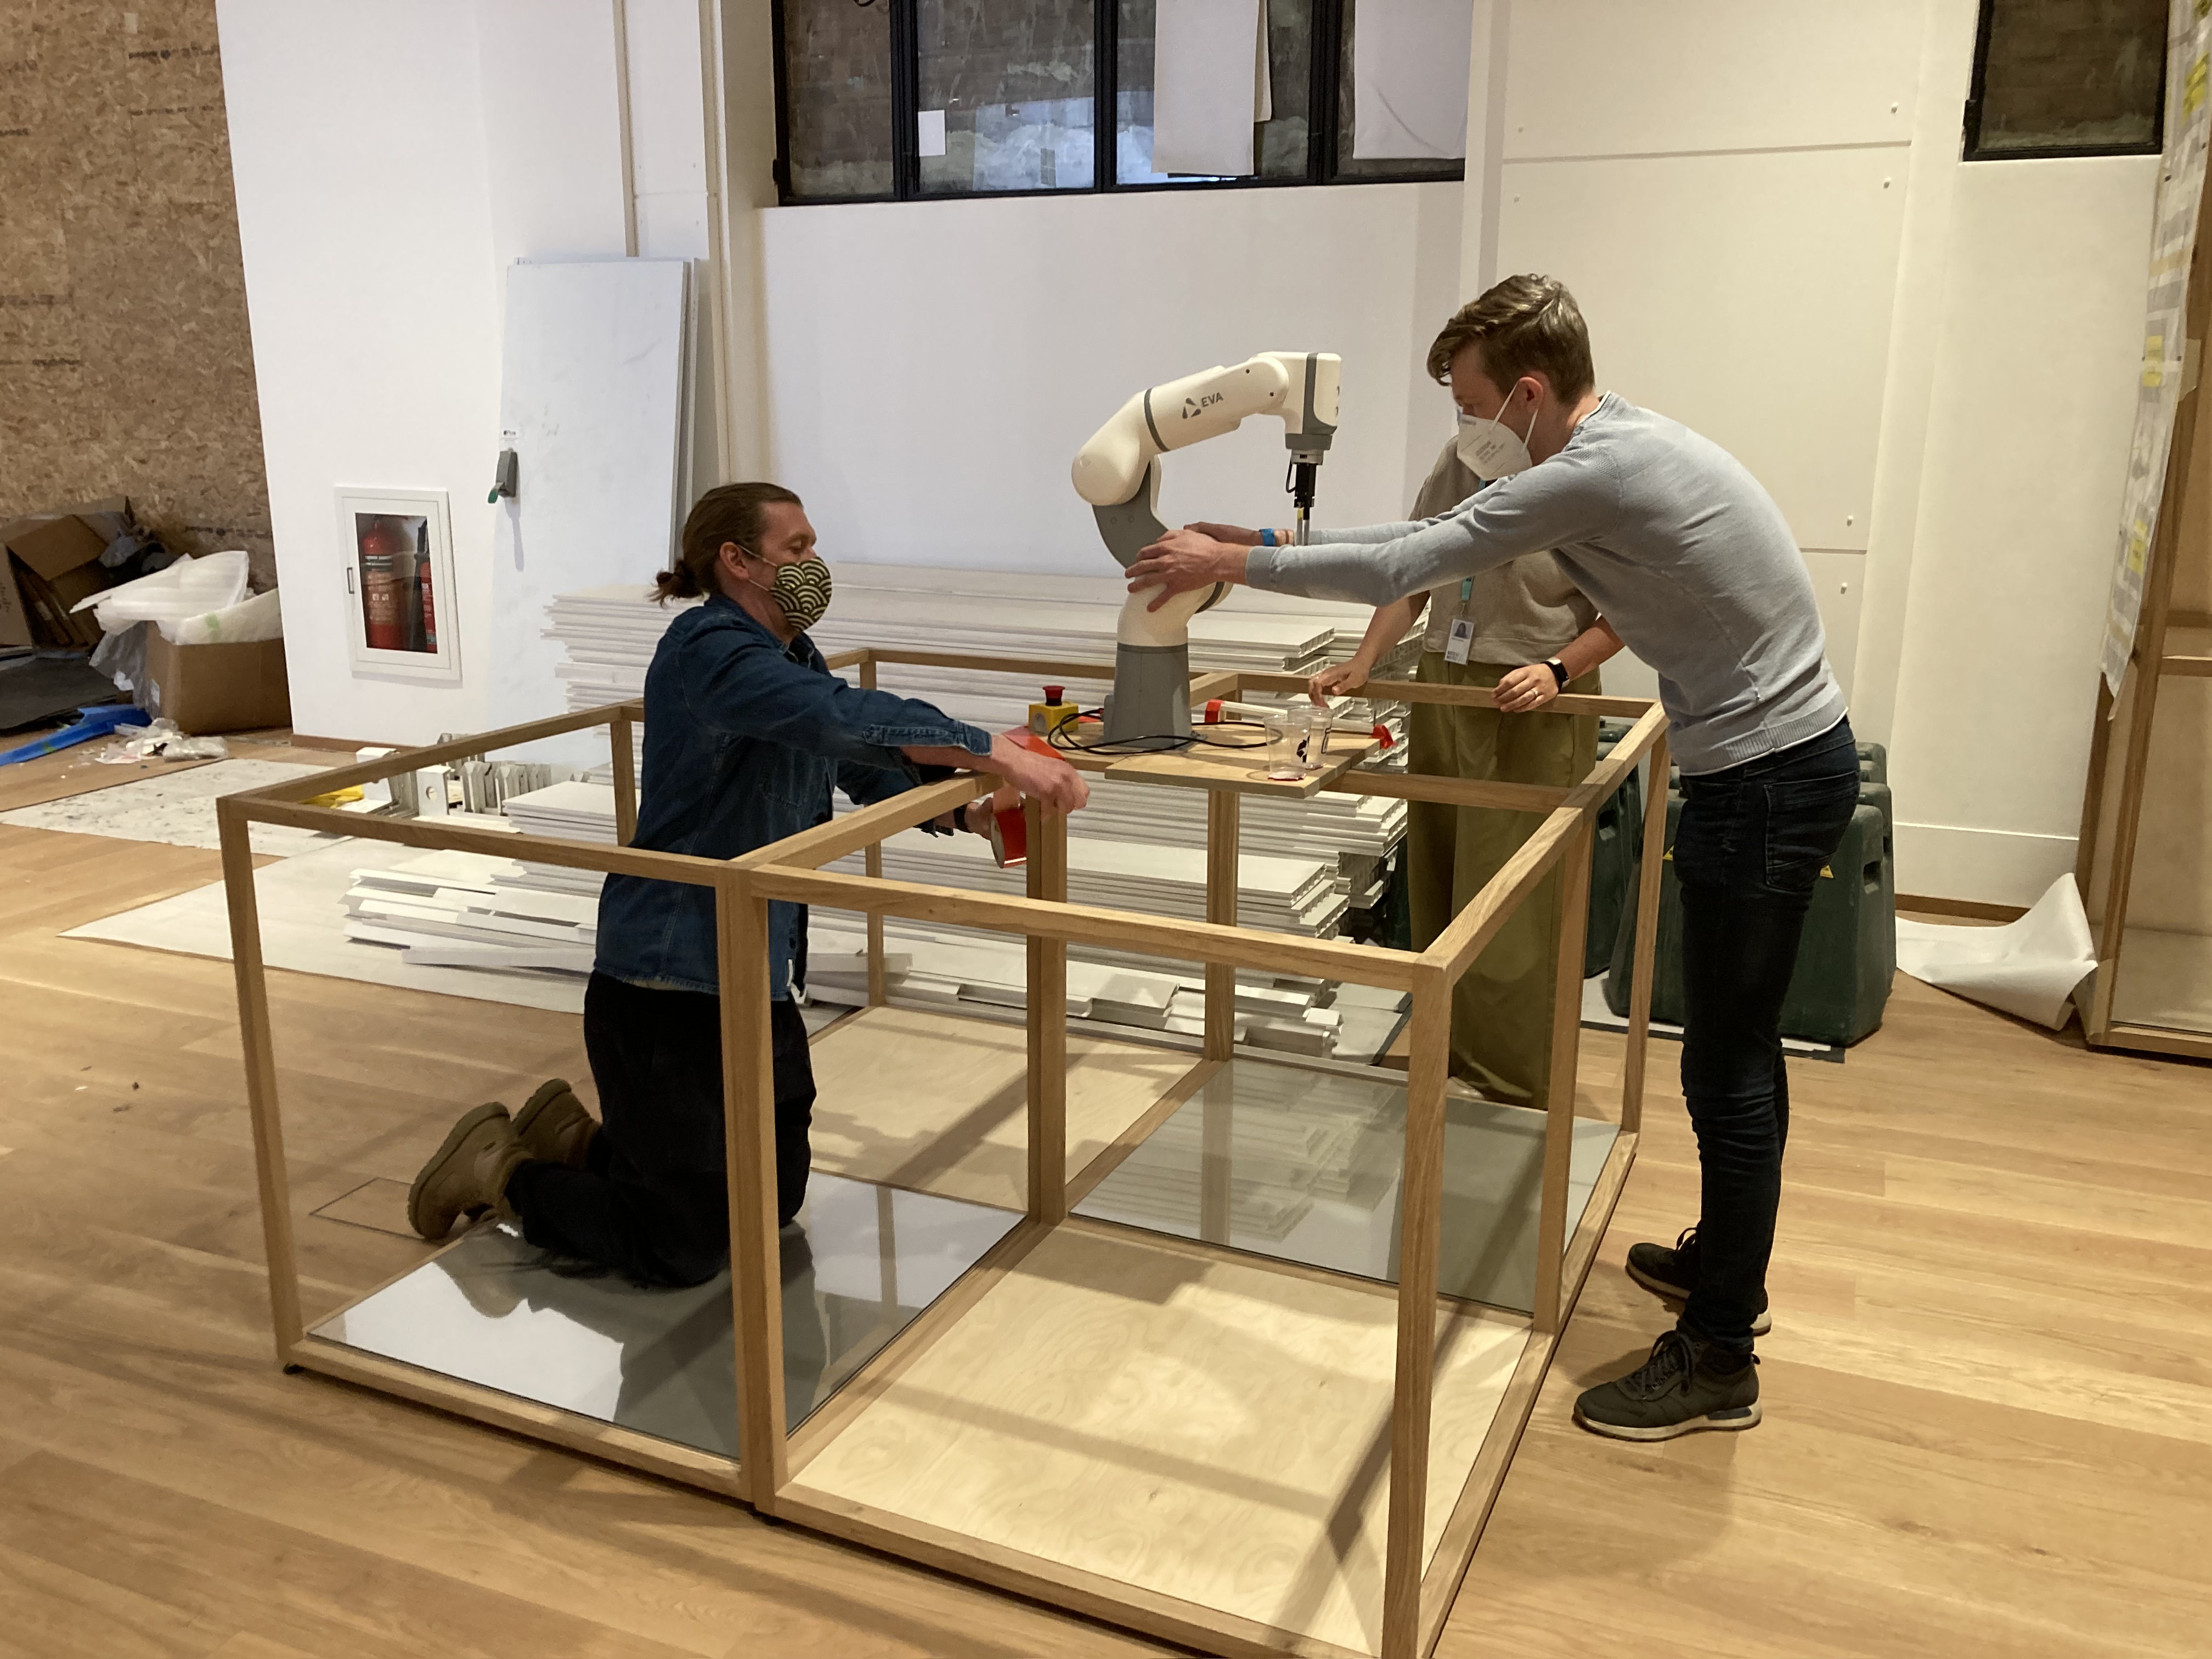
Shop approval
We have a sort of in-between shop approval. This usually takes place in the builders workshop, hence the name. For the first time software + hardware + furniture come together! We see if it will all work and then the furniture is going to be finished off. Here, it was important to see how far the arm would reach and how it may sit safely in the wooden construction.
does it fit?
Receive final texts
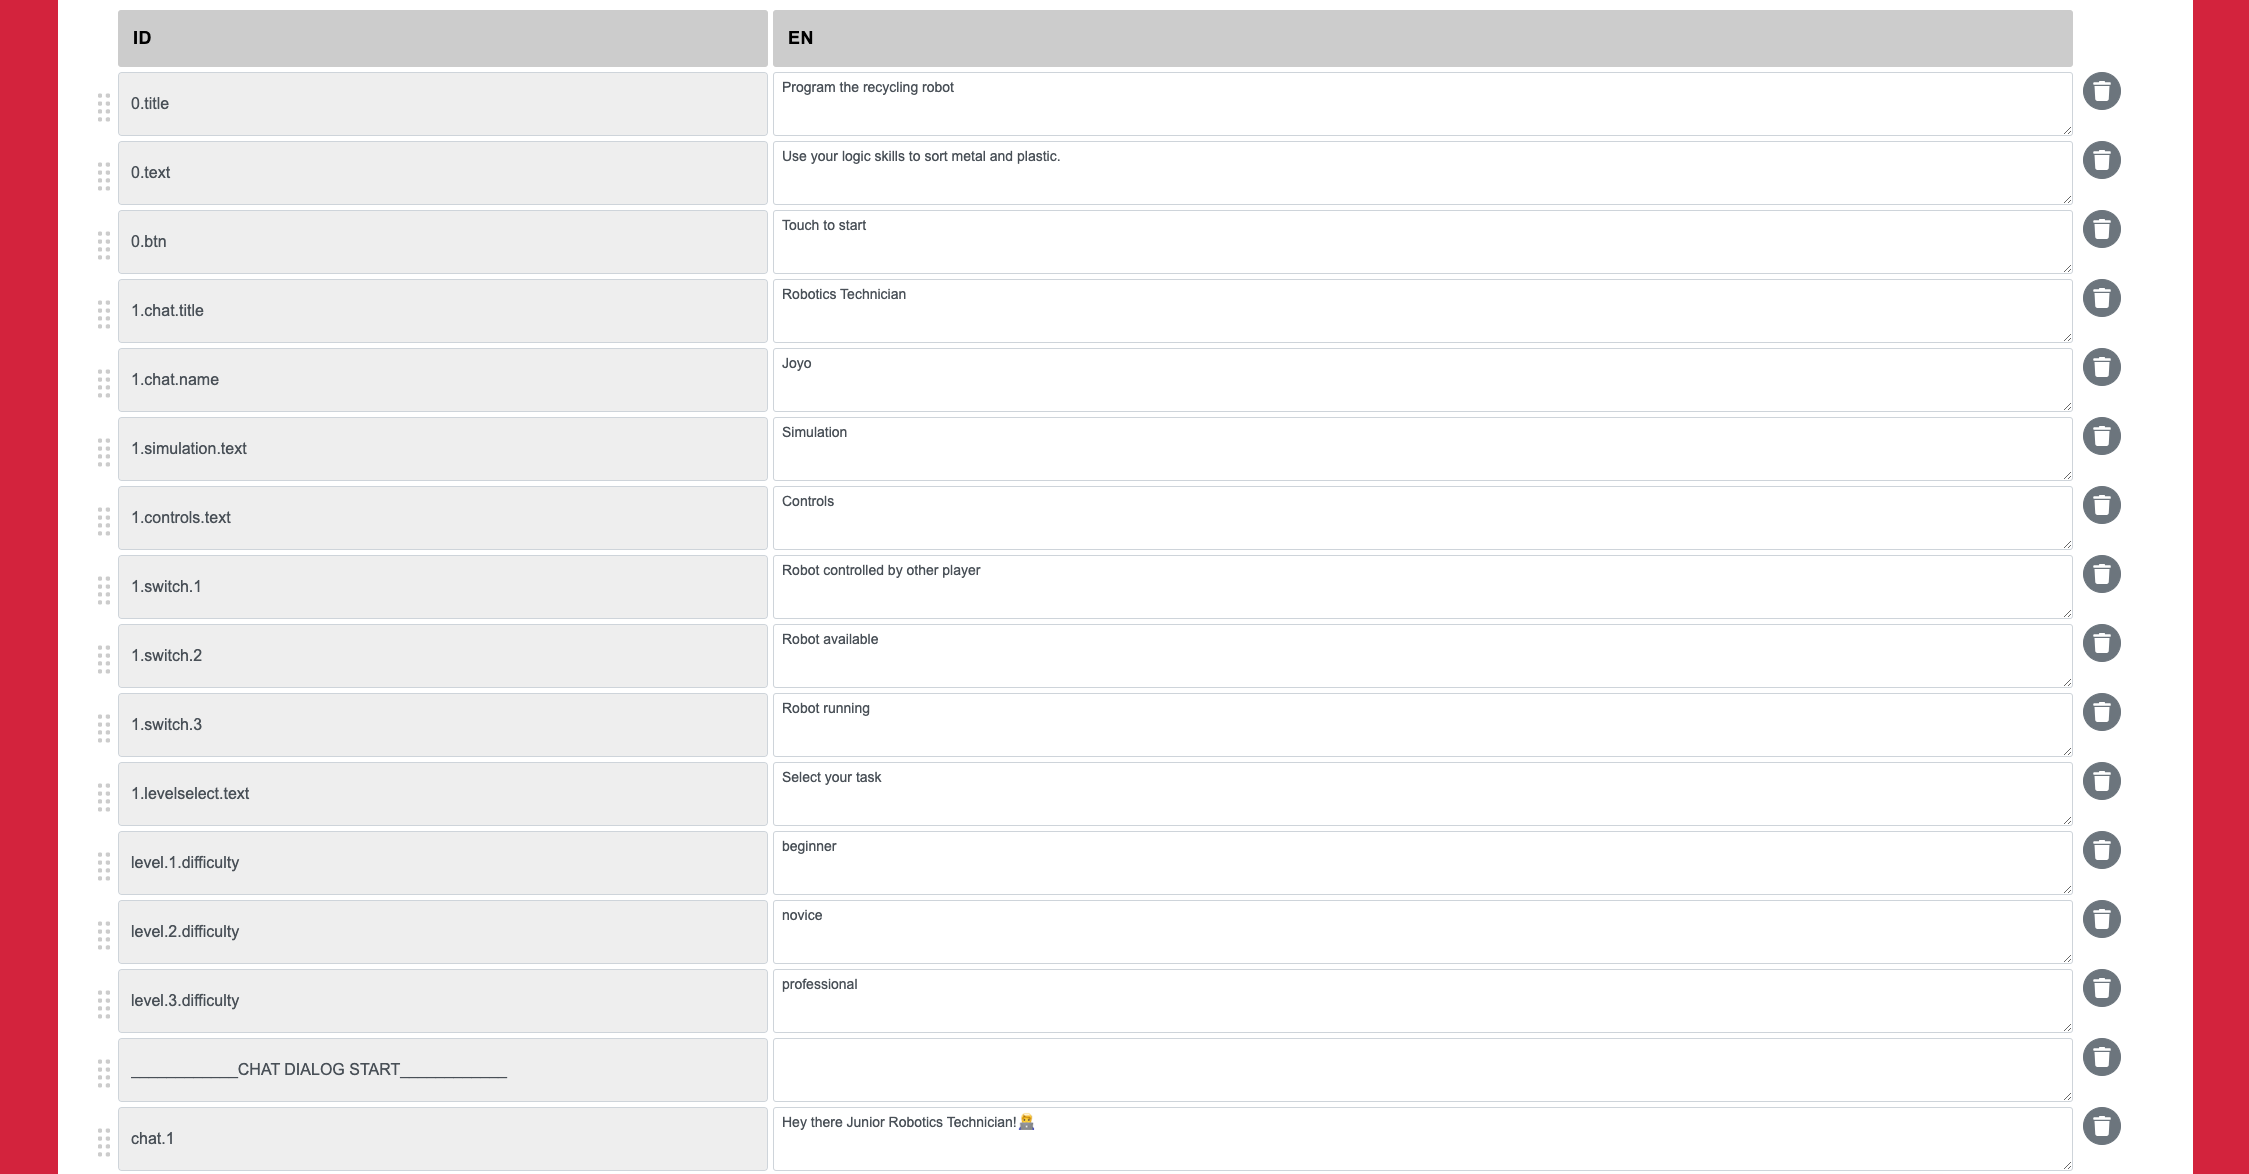
Sometime right before the end of the project the moment has finally come - we receive the final copy of all texts and insert them into our text CMS .
text cms
Start installation on site
We start to install on site. The furniture is almost done at this point safe the print graphics and some finishing touches. Beforehand, we checked that the hardware company will have set everything up and made sure with the museum's IT team, that the network connection for this exhibit as well as the wifi will work. We deploy a first version of the exhibit, check it with everyone and drive back.
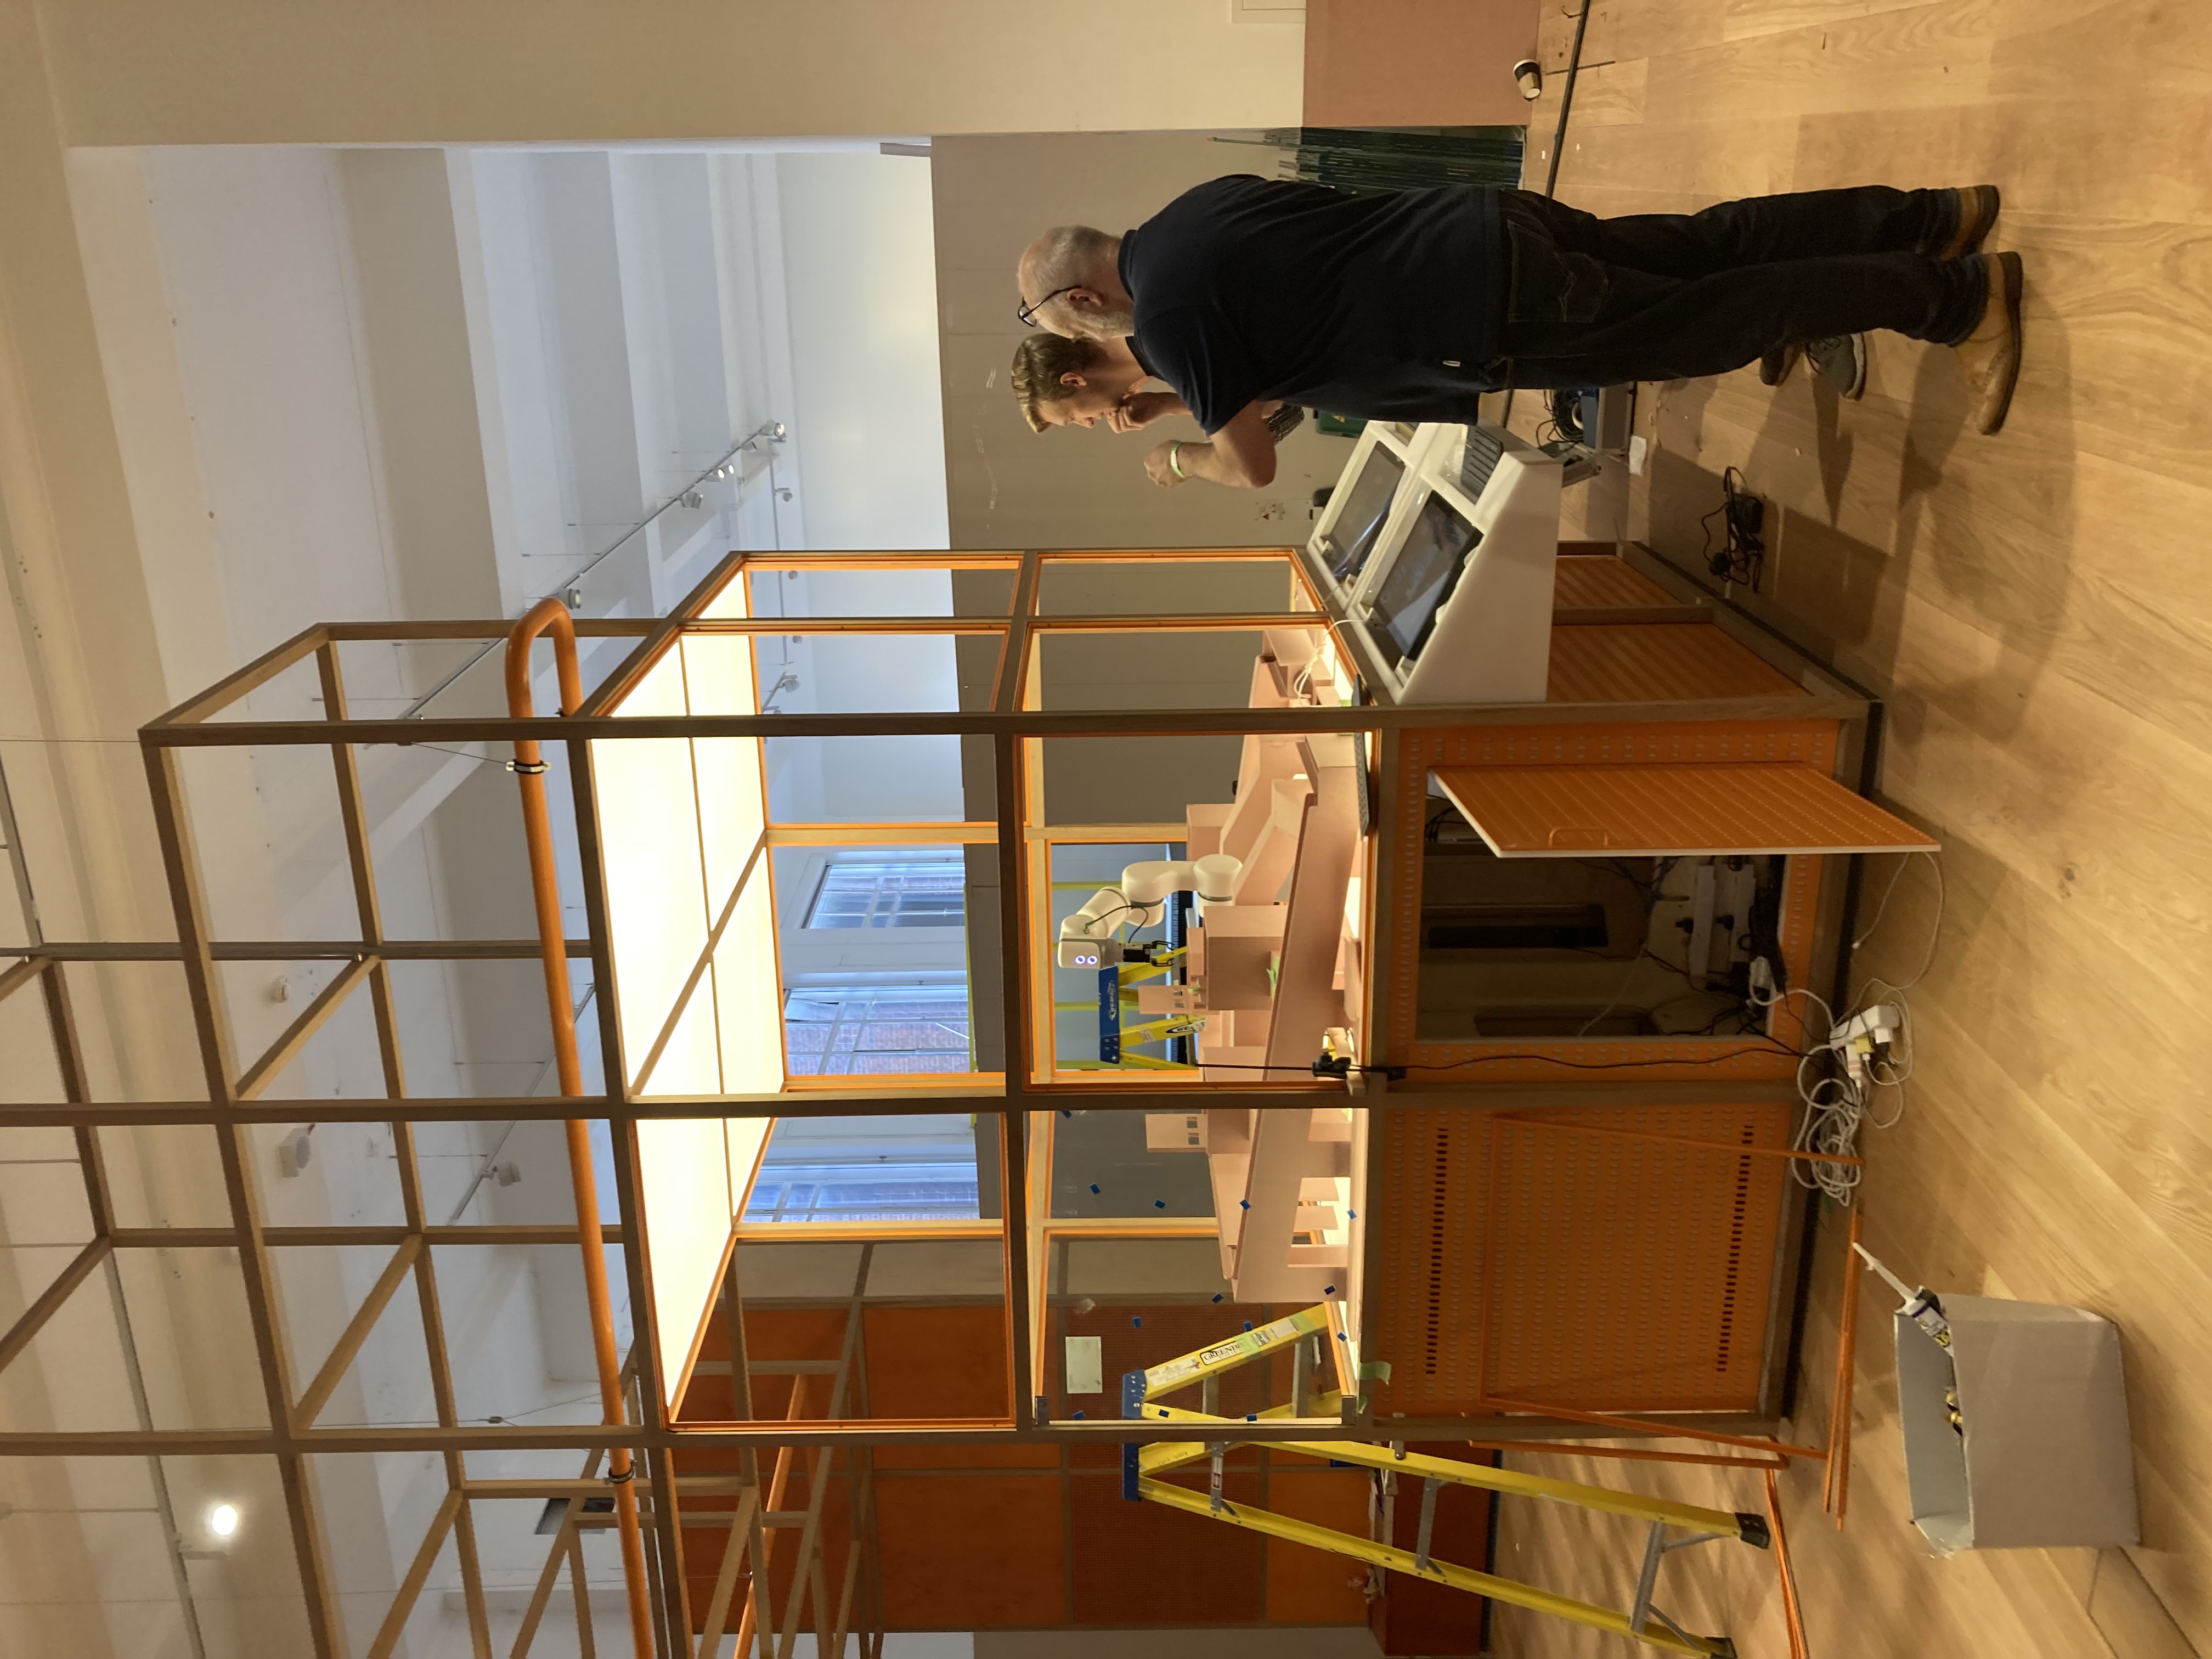
First installation visit
Fixing final mistakes
We fix the very last points we noticed during the first installation visit to make sure all pixels are in the right place. As the Dutch say "putting the dot on the i"
some pixels are not in the right place yet
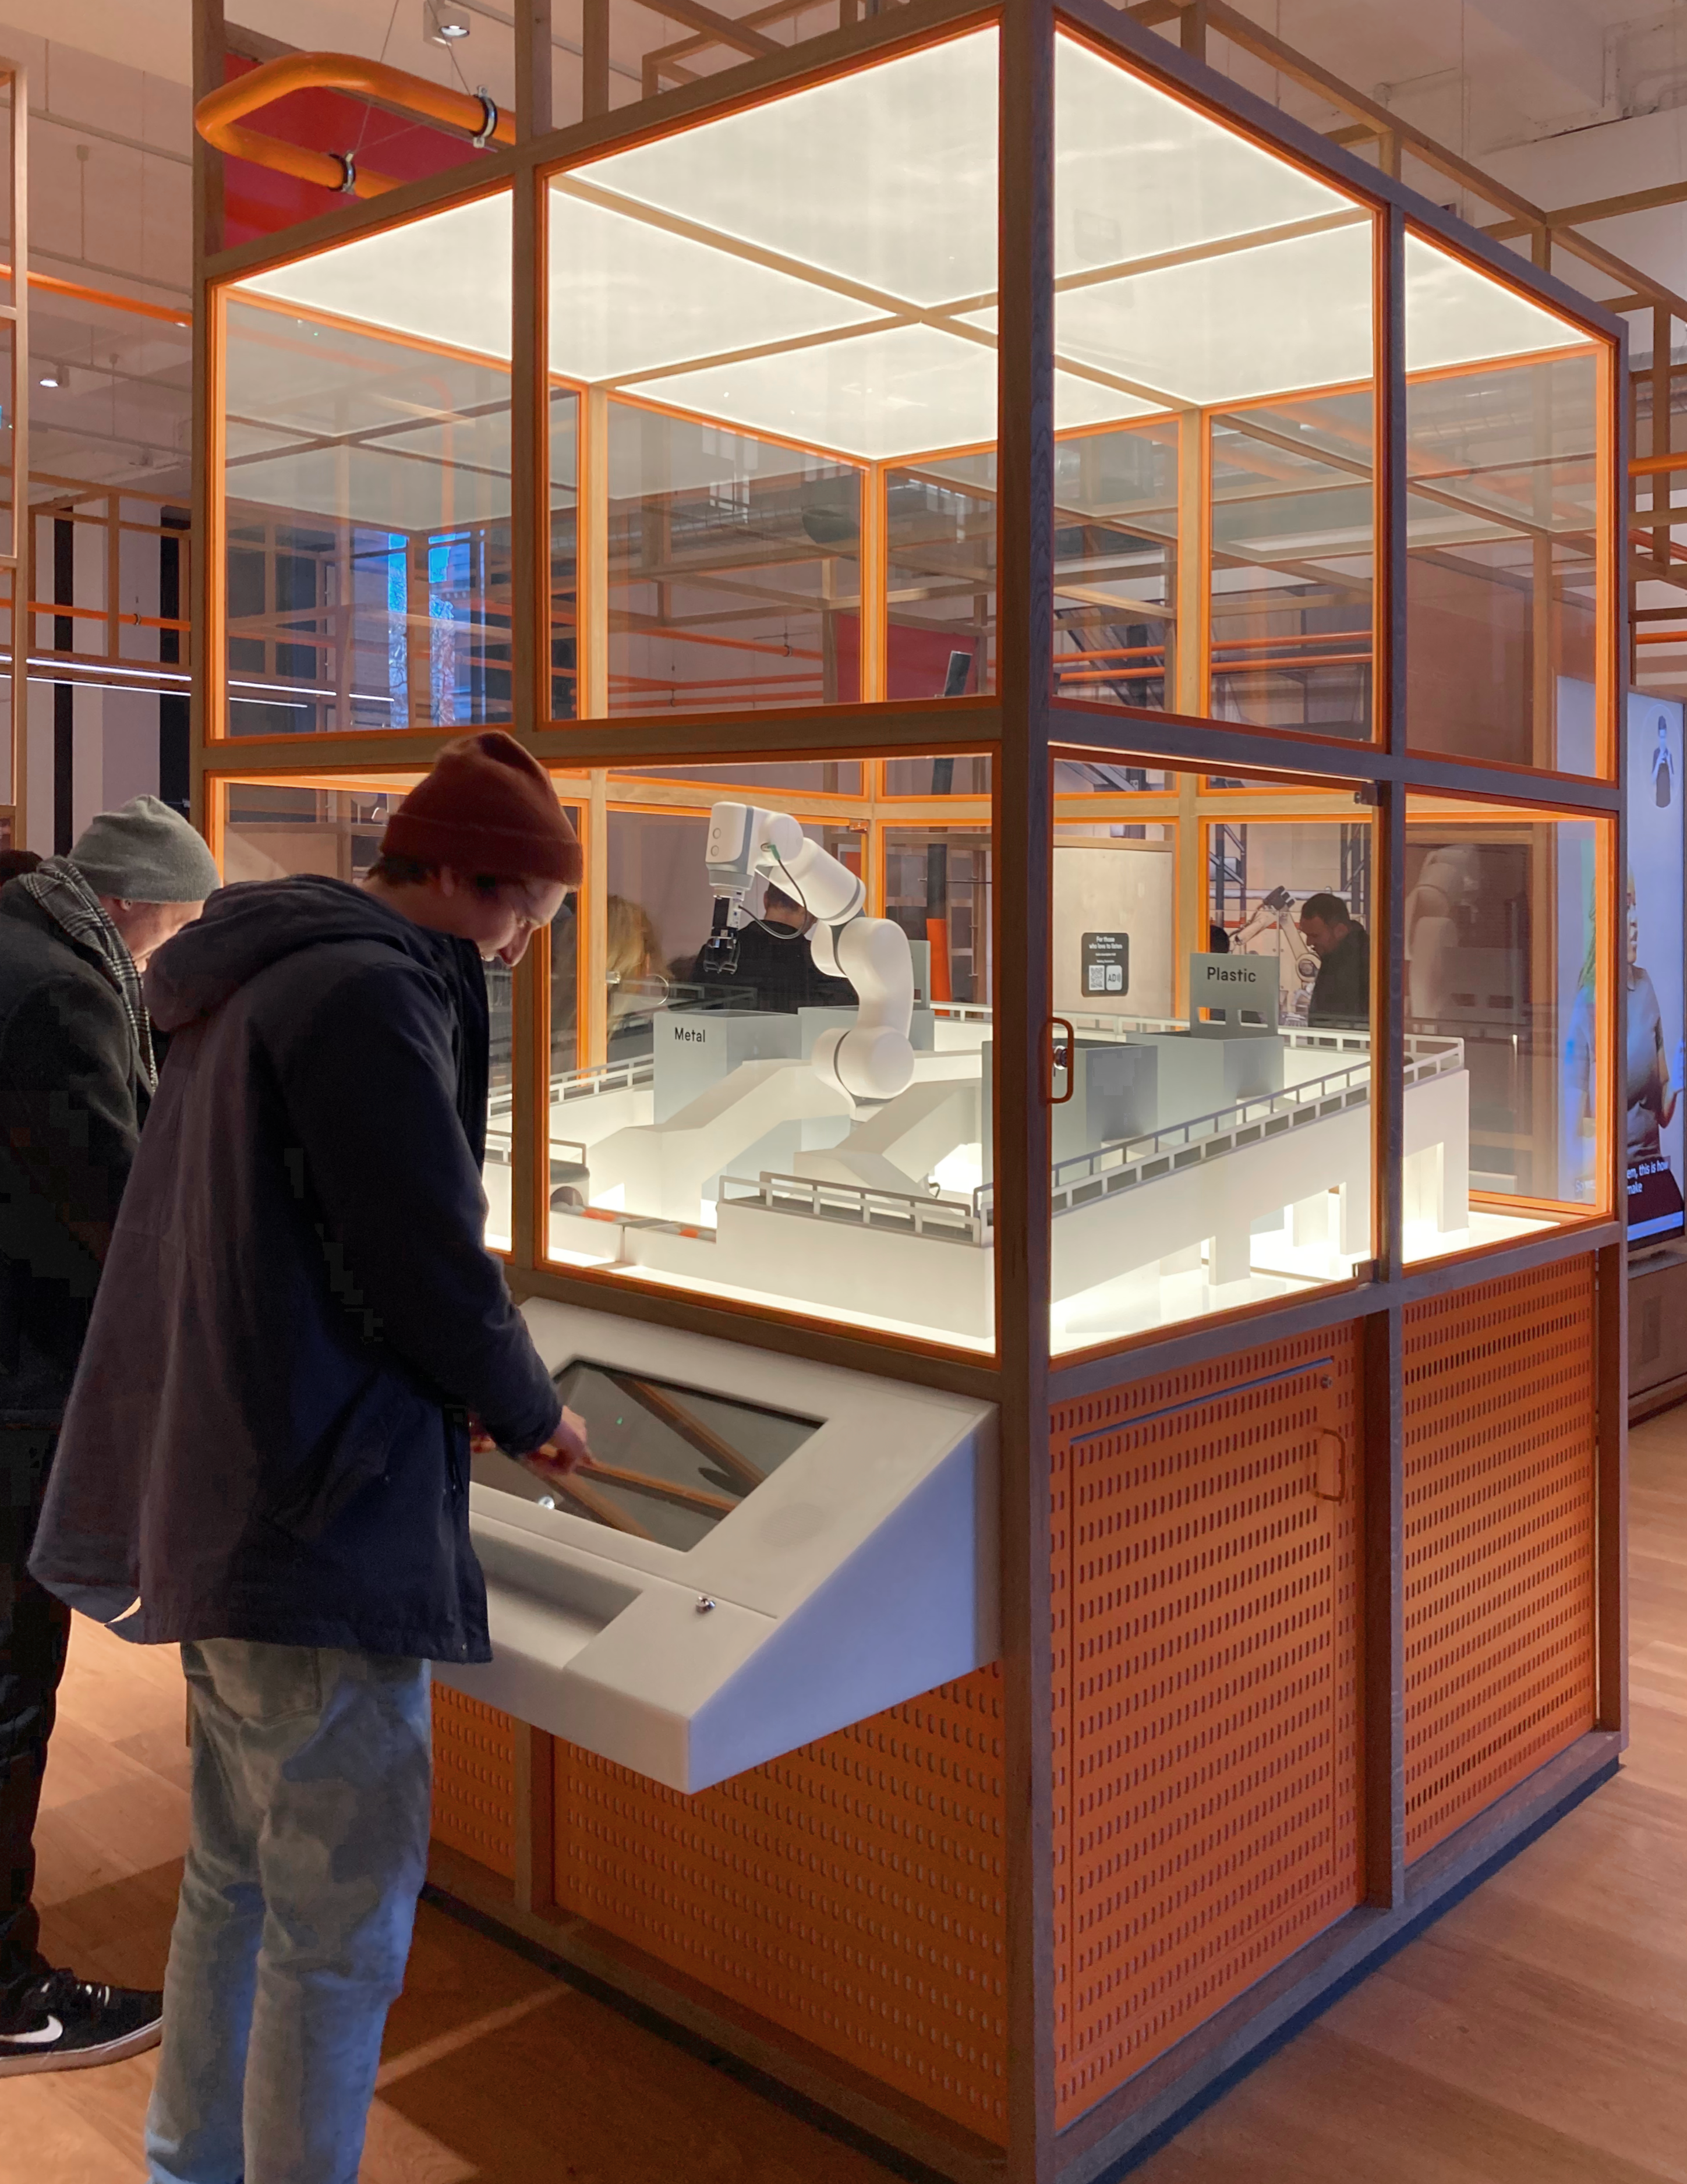
Delivery of final exhibit
This is it! All is finished!! We travel to the museum to install and check the final version of the exhibit. In order for this to happen, everything else, furniture, props, hardware, graphics, internet, network are fully finished. We solve some last beauty mistakes and leave with a happy mind.

finished!